When you are looking to create your own WordPress website, except Bluehost, another good option is HostGator. This article will provide step-by-step guidance on how to create a WordPress website with HostGator of your very own.
HostGator will get you up and running in under ten minutes so that your site can be live on the internet within hours!
You can build a WordPress website with HostGator in just two steps.
Step 1 - Registering a Domain Name and Hosting Plan
1-1 Sign Up with HostGator
In order to start a website using HostGator, the first thing you want to do is click the link (Button) below so you can take advantage of our exclusive discount and save up to 60% on hosting services as well as significant savings on your domain name purchase.
To grab a free domain name, you will need to buy at least one year plan.
Once you click the link (Button) above, you'll be at the Hostgator home page.
You'll now see three different web hosting plans. The hatchling, baby, and business plan.
1-2 Select Your Website Hosting Plan
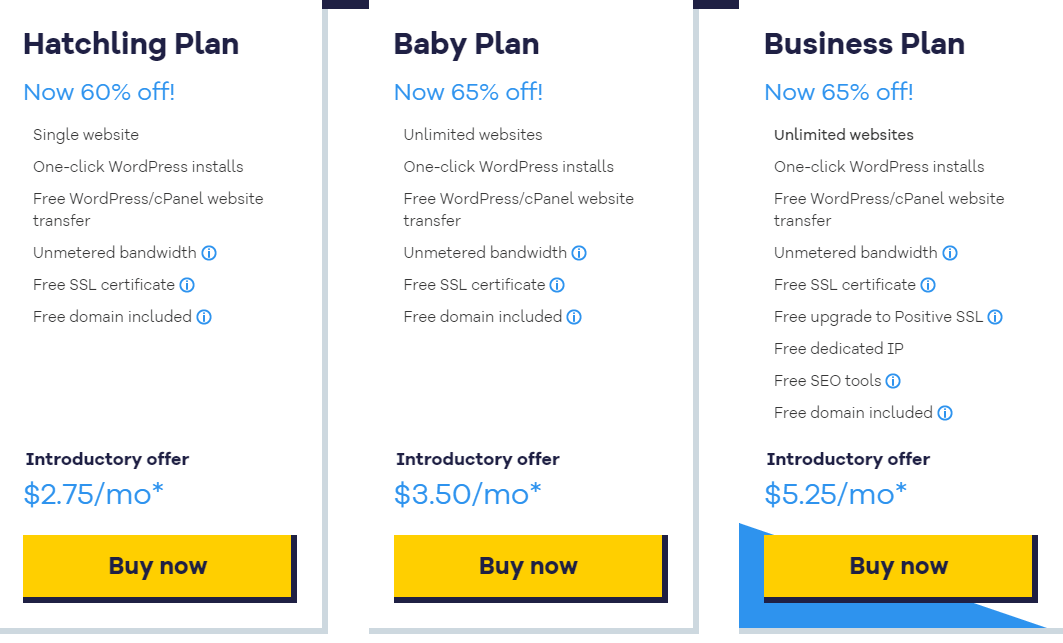
If you are a beginner and want to start your own website with WordPress, I recommend that you use the Hatchling plan. You can upgrade to any of the plans at any time.
1-3 Choose Your Own Domain Name

This is where you can search for a domain for your site or enter a domain name if you already own one.
If you don't have any idea about your domain name, here are some tips for choosing a domain name.
If you already have a domain name, then you can tap on the button that says "I Already Own This Domain" and enter your domain name.
You'll see the search field where you can type in a domain name that you want.
A domain name will be ready to search for as soon as you enter it. When the search is done, it will show the results and recommendations on what other domains you might be interested in.
If your domain name is available, it will be selected.
Over to the right, you can select the domain extension, for example, .com, .net, .org, and so on. If you can, I recommend a .com as your domain extension. It is the most popular. This decision is up to you.
At the bottom of the domain search results, you will see a box that costs $14.95 for one year. Uncheck it as a beginner, because you don’t need it now.

Next, scroll down to the choose a hosting plan section.
1-4 Choose a Package Type & Billing Cycle

After you decide on a domain name, you will need to pick the type of package and billing cycle.
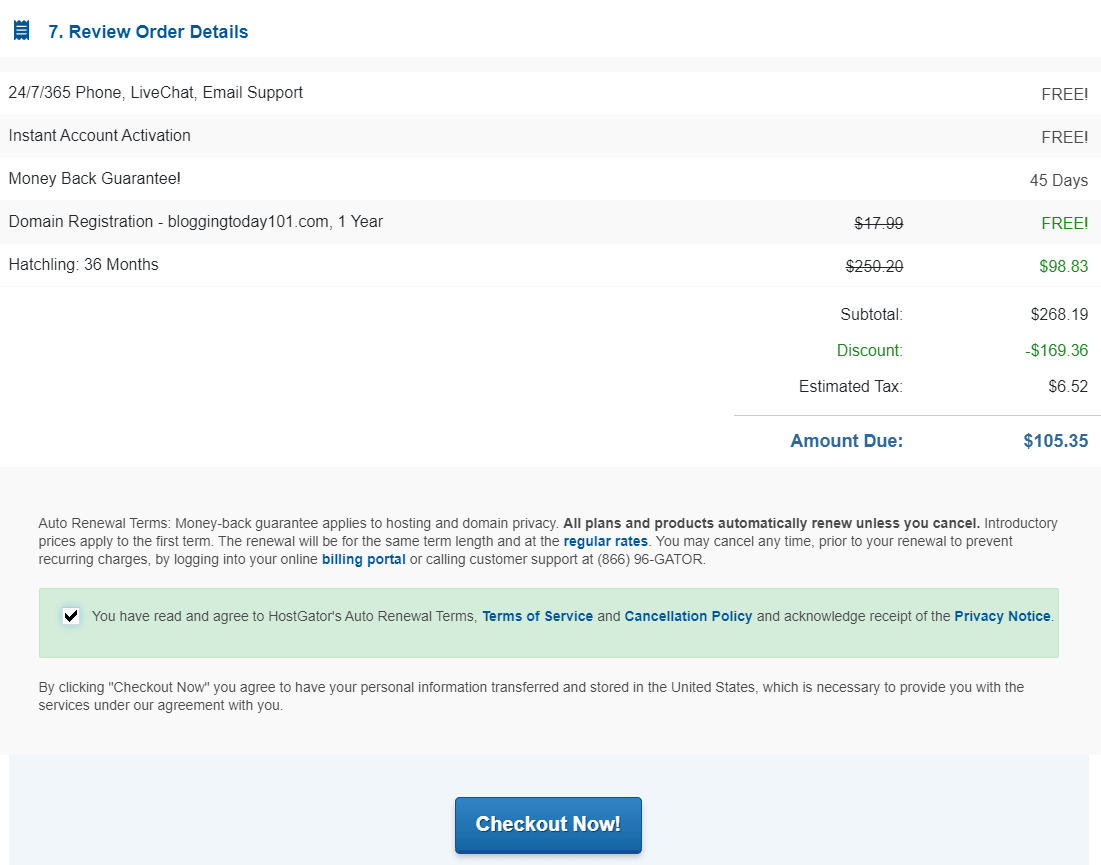
If you are new, I recommend going with Hatchling in the package type and 36 months for your billing cycle. This will cost $105.35 including taxes.
If you choose 24-month or 12-month billing cycles, it will cost 3.45/mo or 3.95/mo respectively instead of only 2.75/mo for 36 months, so save by choosing 36 months!
1-5 Create Your HostGator Account
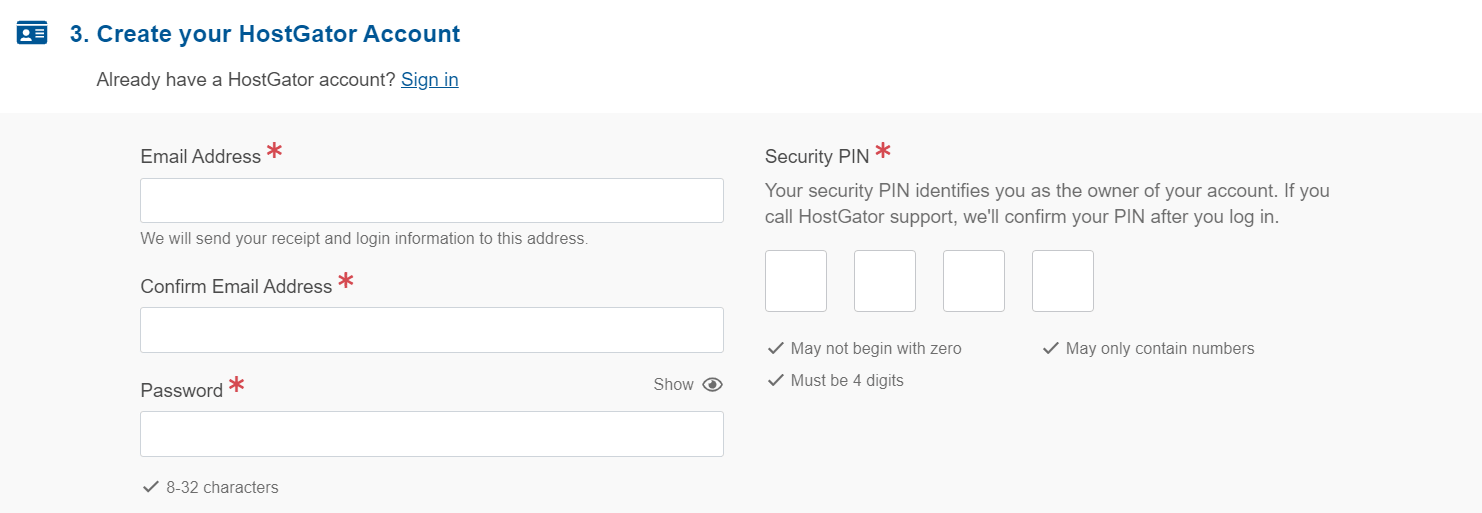
You need to enter your email address and then choose a password. Then you will need to choose a PIN number that is easy for you to remember and hard for others to guess.
1-6 Enter Your Billing Info
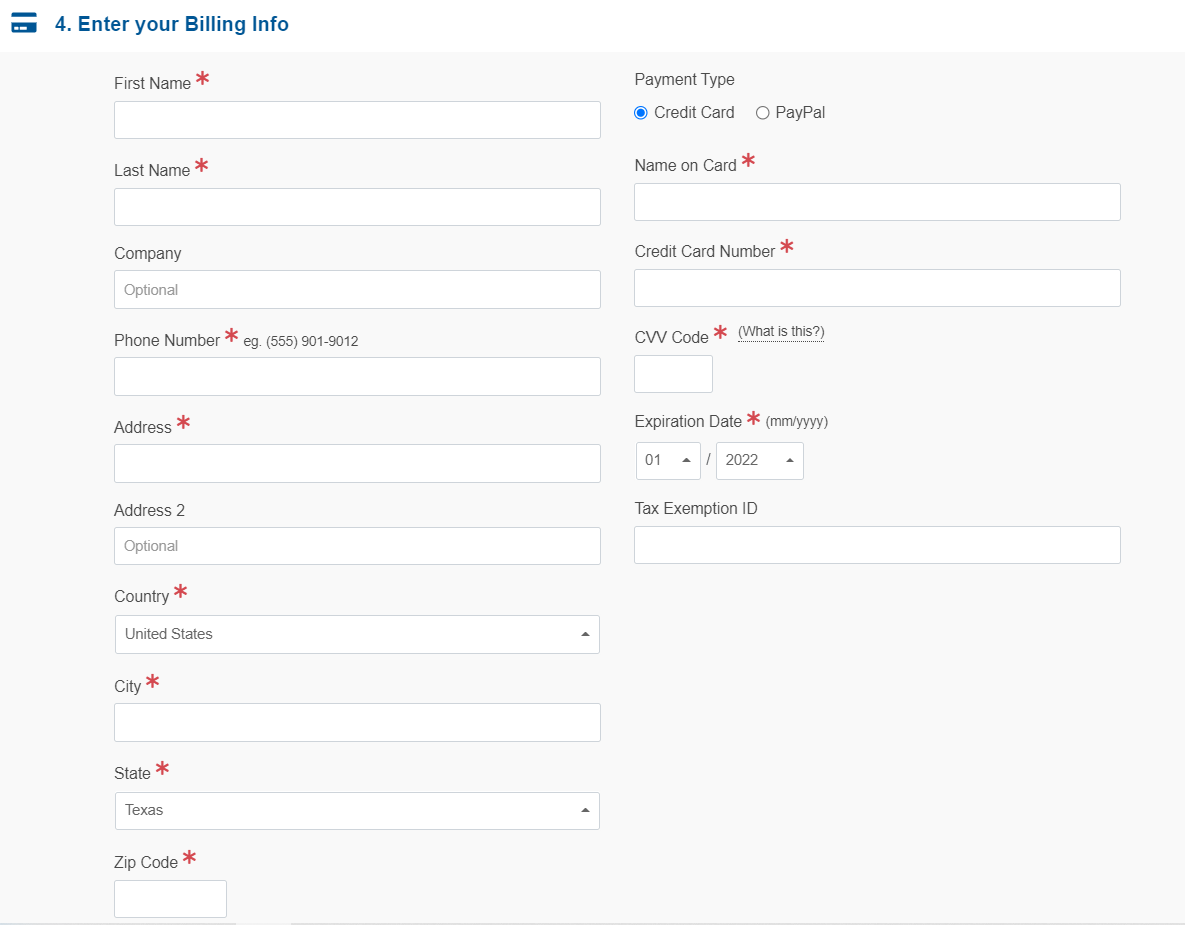
Enter your name, phone number, address, and payment type. On the right side you will see where you can put in your card information or pay with Paypal. You may provide a tax exemption ID if you have one to save taxes.
After you do that scroll down to the add additional services section where you can add any HostGator add-ons that you would like. All of these add-ons are completely optional.
1-7 Skip all Additional Services
Add-ons are extra things that you can buy. They cost money and they don't need to be bought as a beginner. You can uncheck all additional services and save money.
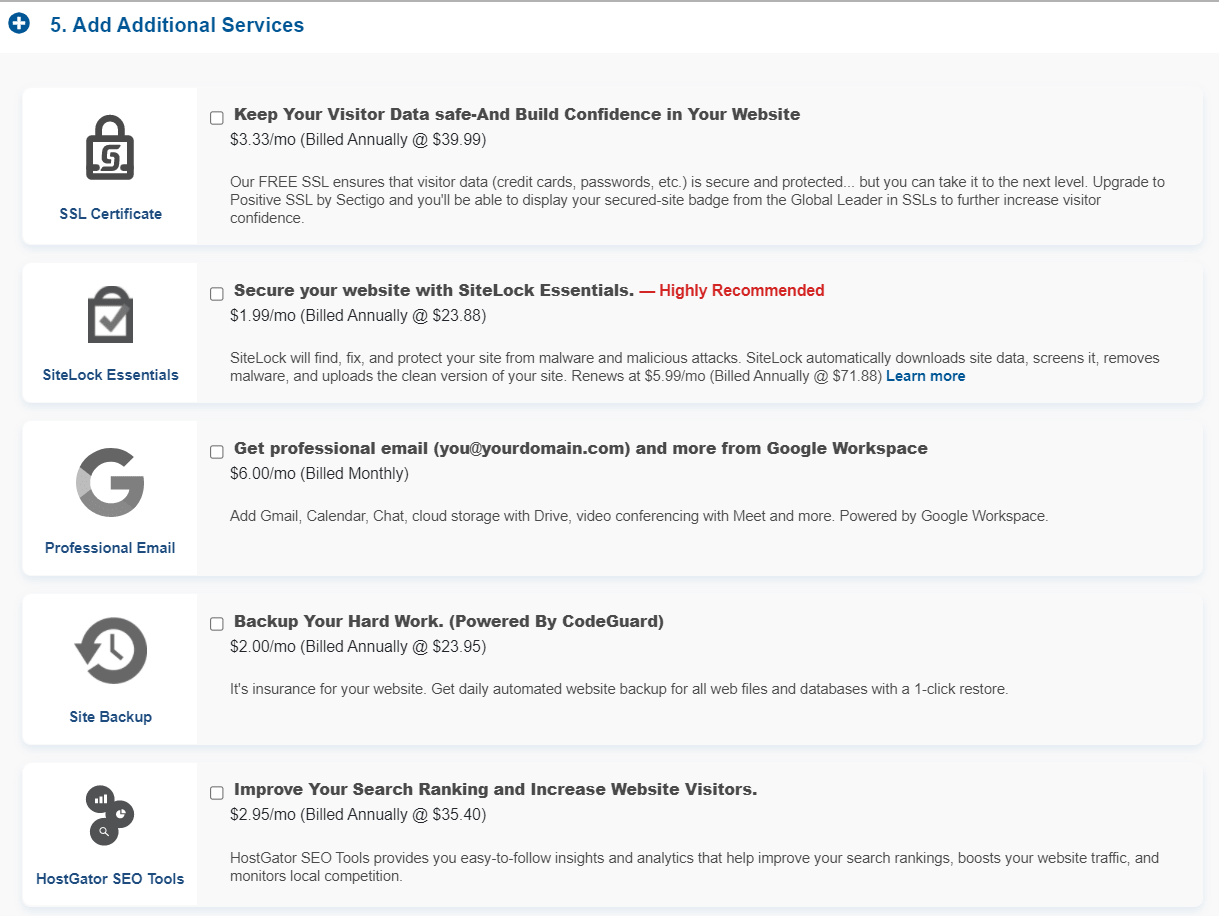
SSL Certificate:
HostGator does comes with a free SSL Certificate for your site so this add-on isn't necessary.
Unless you want to upgrade to a Positive SSL Certificate which will allow you to show a site security badge on your site if you'd like and with the positive SSl Certificate you'll have a $10,000 limited guarantee warranty by Comodo.
SiteLock Essentials
This add-on checks your website daily and will notify you immediately if your site has been hacked into and malicious code has been placed into it.
Professional Email
Your HostGator account already comes with email addresses that you can create for free so I really don't recommend this.
Backup Your Hard Work
This will backup your site daily and you can restore your site to a previous back up with a click of a button with their one-click restore.
This add-on can be a good one because if your site gets hacked into or you mess something while creating it, or editing it.
You can restore it to the version right before whatever happened took place and everything will be back to normal.
HostGator SEO Tools
HostGator SEO Tools will provide you with reports, insights, and analytics regarding the SEO for your site and it'll recommend things to do to improve the SEO of your site.
It will also report your site to search engines. This add-on isn't really necessary.
1-8 Enter a Coupon Code
In the next step, you will see a coupon code box. You can use a default coupon that is on there to get 60% off shared hosting plans. So, you don’t need to do anything from your end.

1-9 Review Order Details
Now you need to double-check. We have selected the Hatchling plan for 36 months at $2.75 per month.
The estimated tax is $6.52 which means the total cost is $105.35. This includes everything and we can continue now that everything is correct
Then, just scroll down and accept the terms and conditions and click the "checkout now" button.
You have finished registering a domain name and hosting plan for your website.
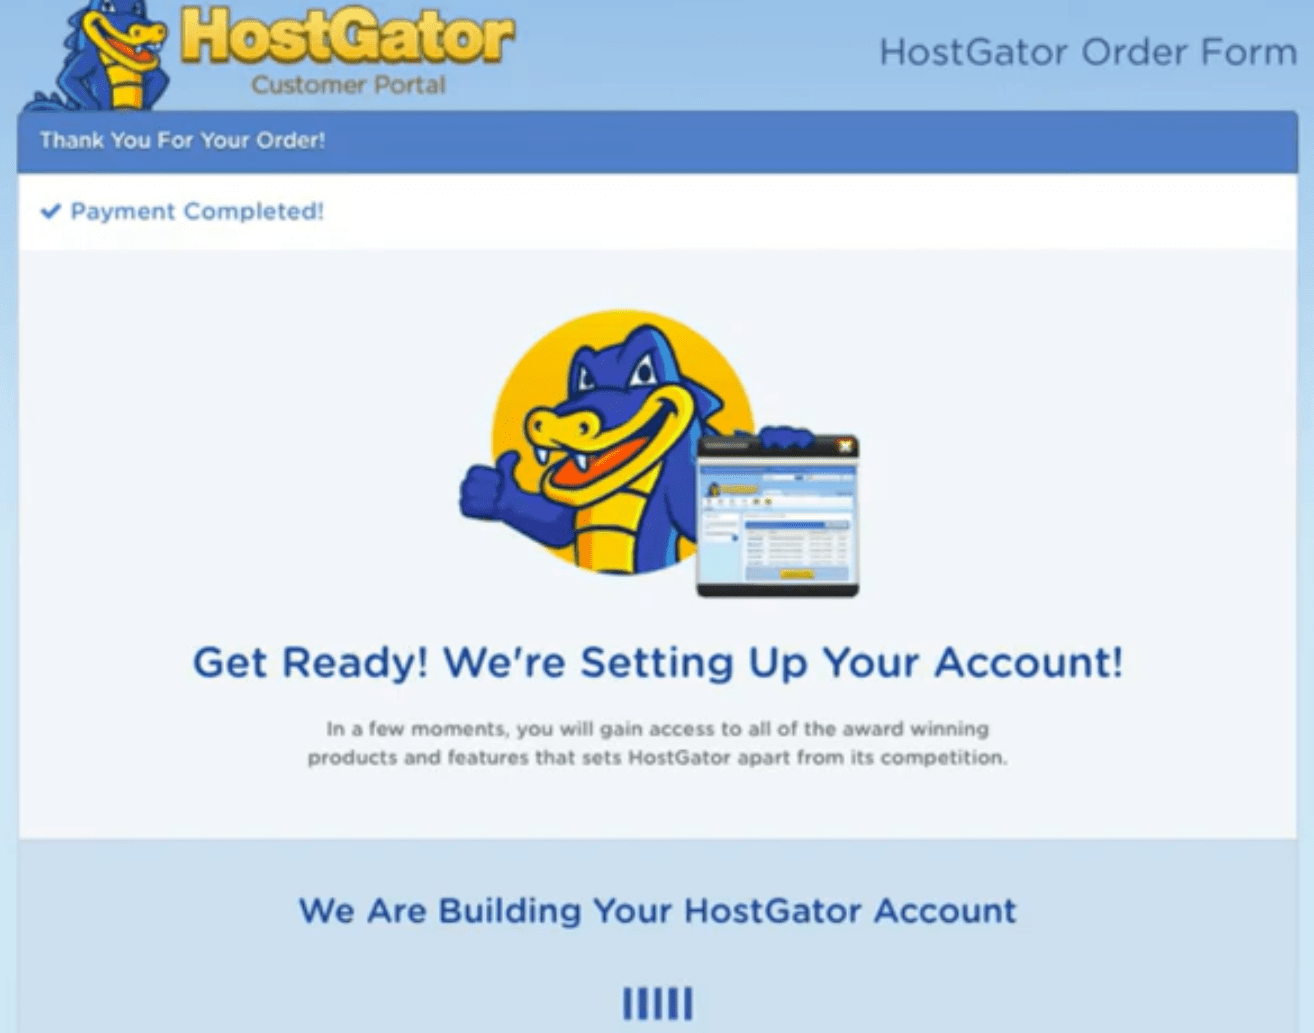
You will now be directed to a thank you page, and you will also get an email from the Hostgator team with your password to login to the Hostgator control panel (cPanel).
Step 2 - Login to Your Account and Install WordPress
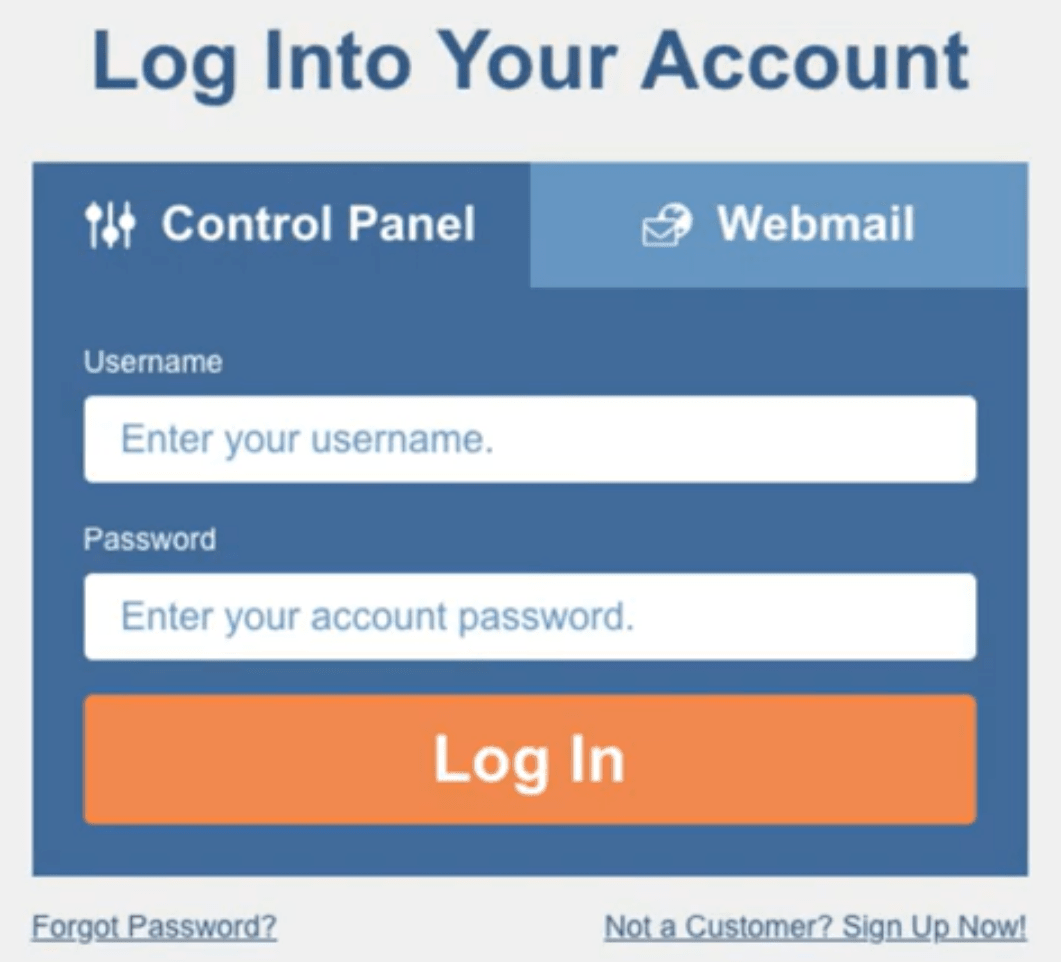
Once you get the email, just click the link to go to the Hostgator cPanel login page. Enter your credentials and you will be logged in.
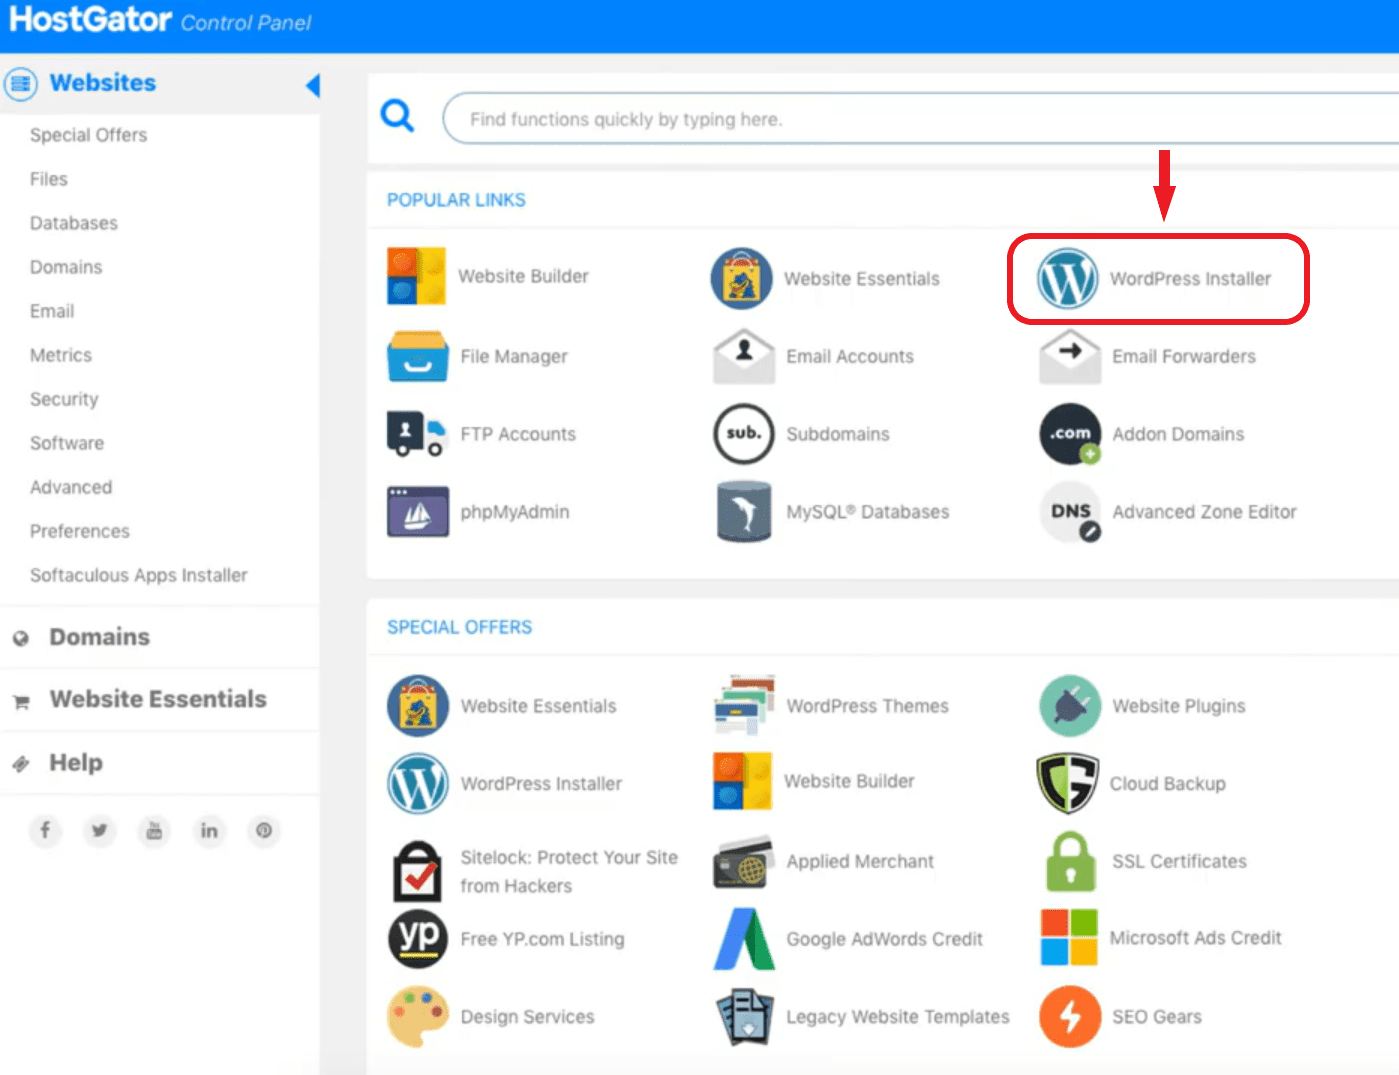
On the top of your cPanel, you will find a section called Popular Links. Click on WordPress Installer to install it.
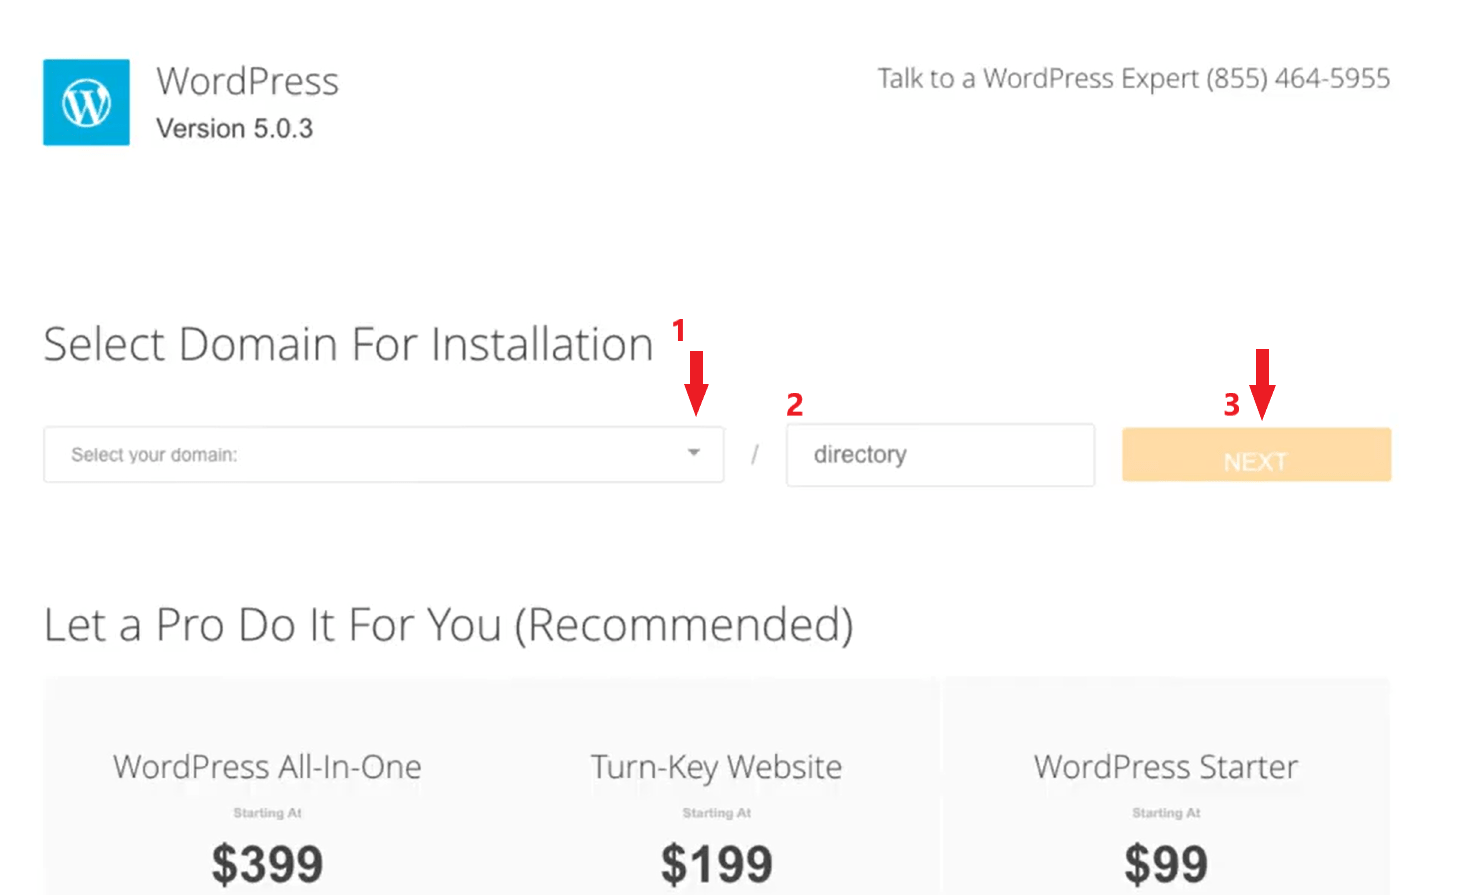
Next, we want to select the domain for the WordPress installation.
- 1Click on select your domain and choose the domain name that you will be using for your website.
- 2Leave the directory field blank.
- 3Hit the next button.
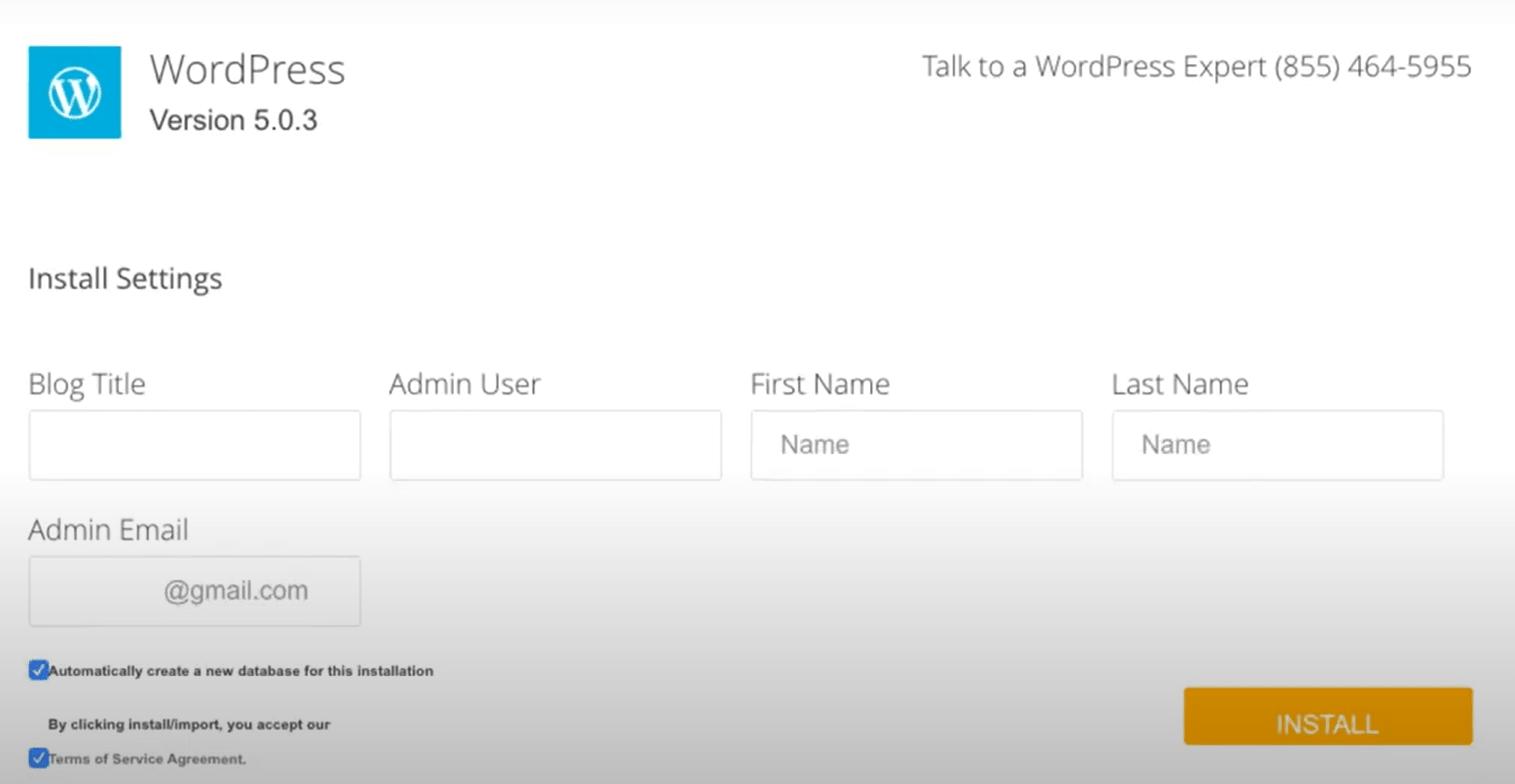
Now you will be on the install settings page.
You will now be redirected to an installation complete page. It lists your WordPress login credentials. Hostgator will now send you an email with a link you can use to log in to WordPress.
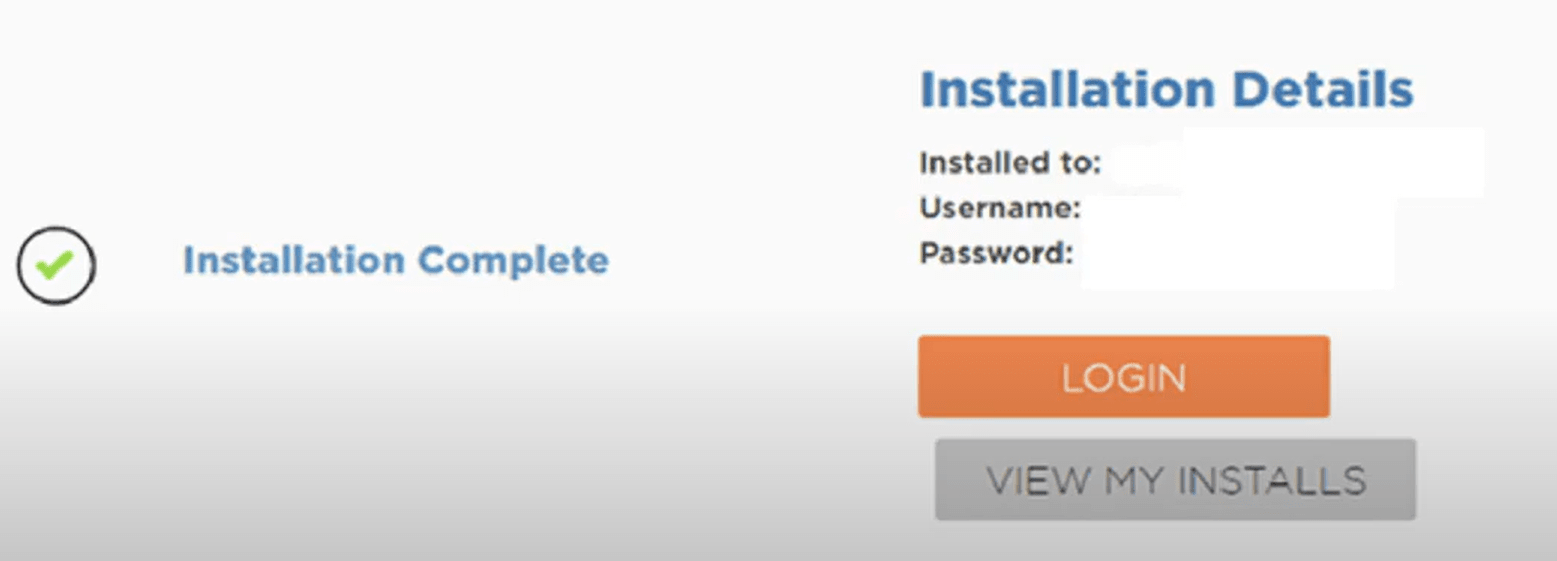
Congratulations! The WordPress software has been installed and your website is ready. Now, you can log in to your WordPress dashboard and see what your website looks like.
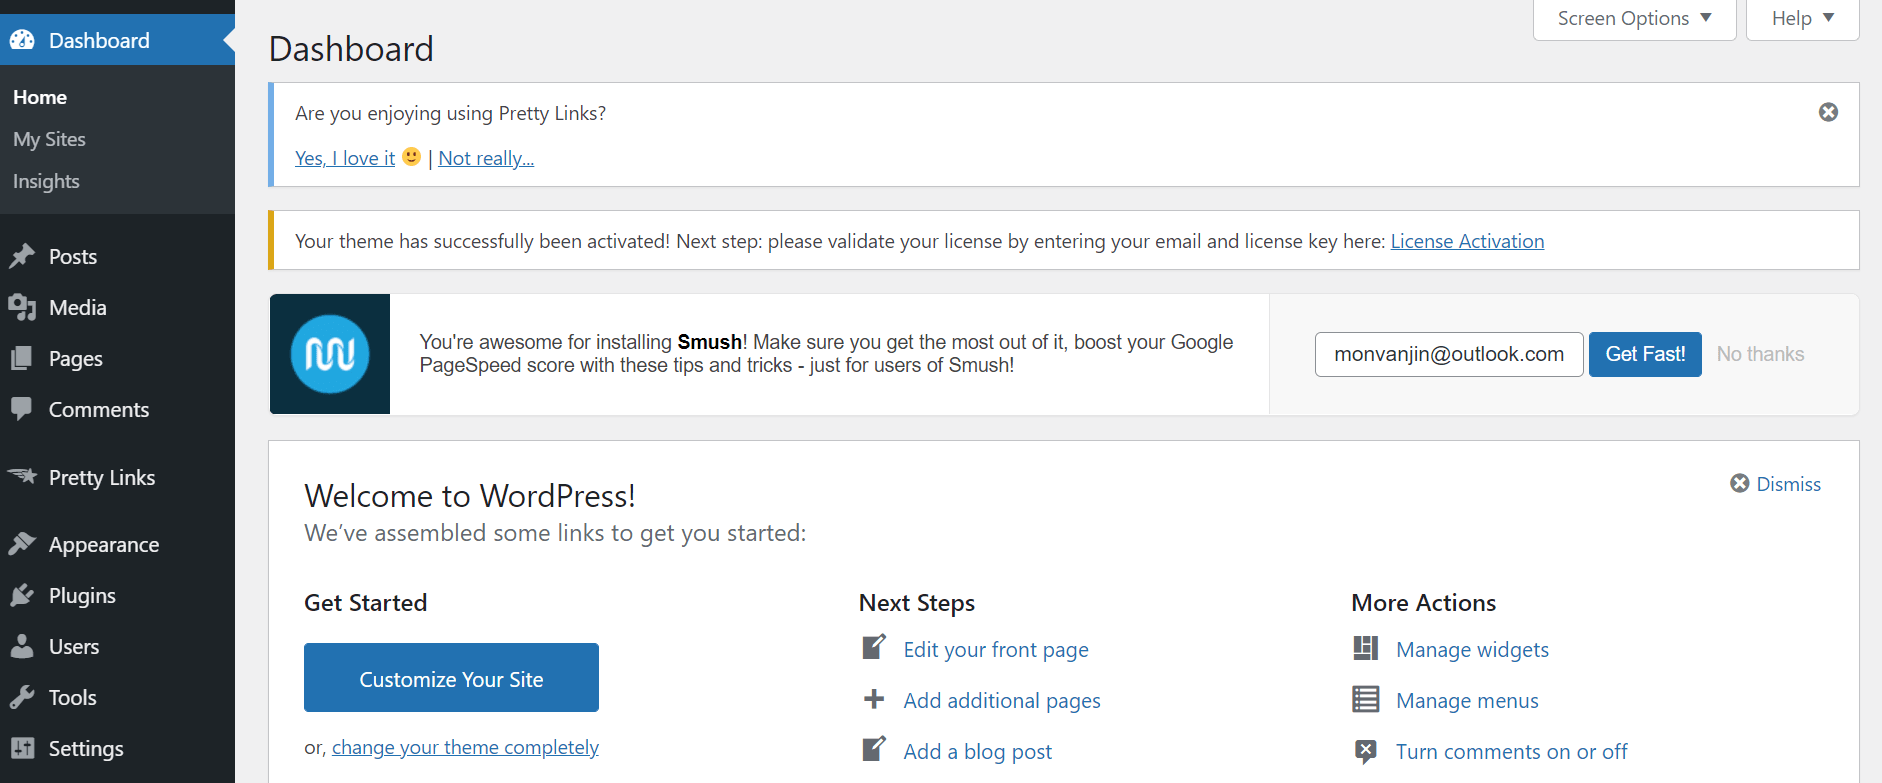
How to log in to your WordPress dashboard?
Logging in to the WordPress dashboard with Hostgator is easy. Just enter your domain name at the top of the search engine and put a "/wp-admin." Just like you see here:
https://yourdomain.com/wp-admin
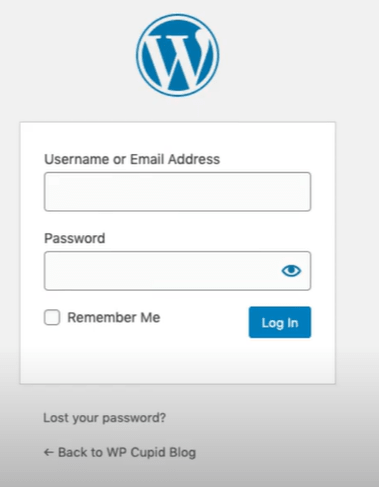
This is the WordPress login page for your site. I recommend that you bookmark this so that it will be easy to find in the future.
Know the WordPress dashboard
When you log in, the screen will show the WordPress dashboard. You can start creating your site here. Let's get to know WordPress a little more.
Visit your site
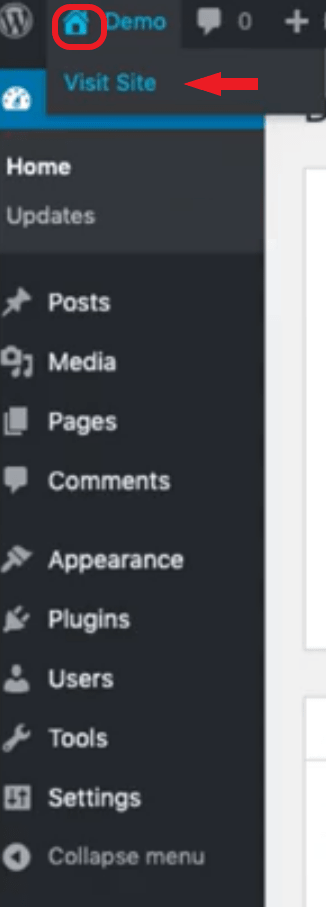
In the top left corner of your WordPress dashboard, you'll see a house icon. When you hover over this, press "Visit site" and your site will open.
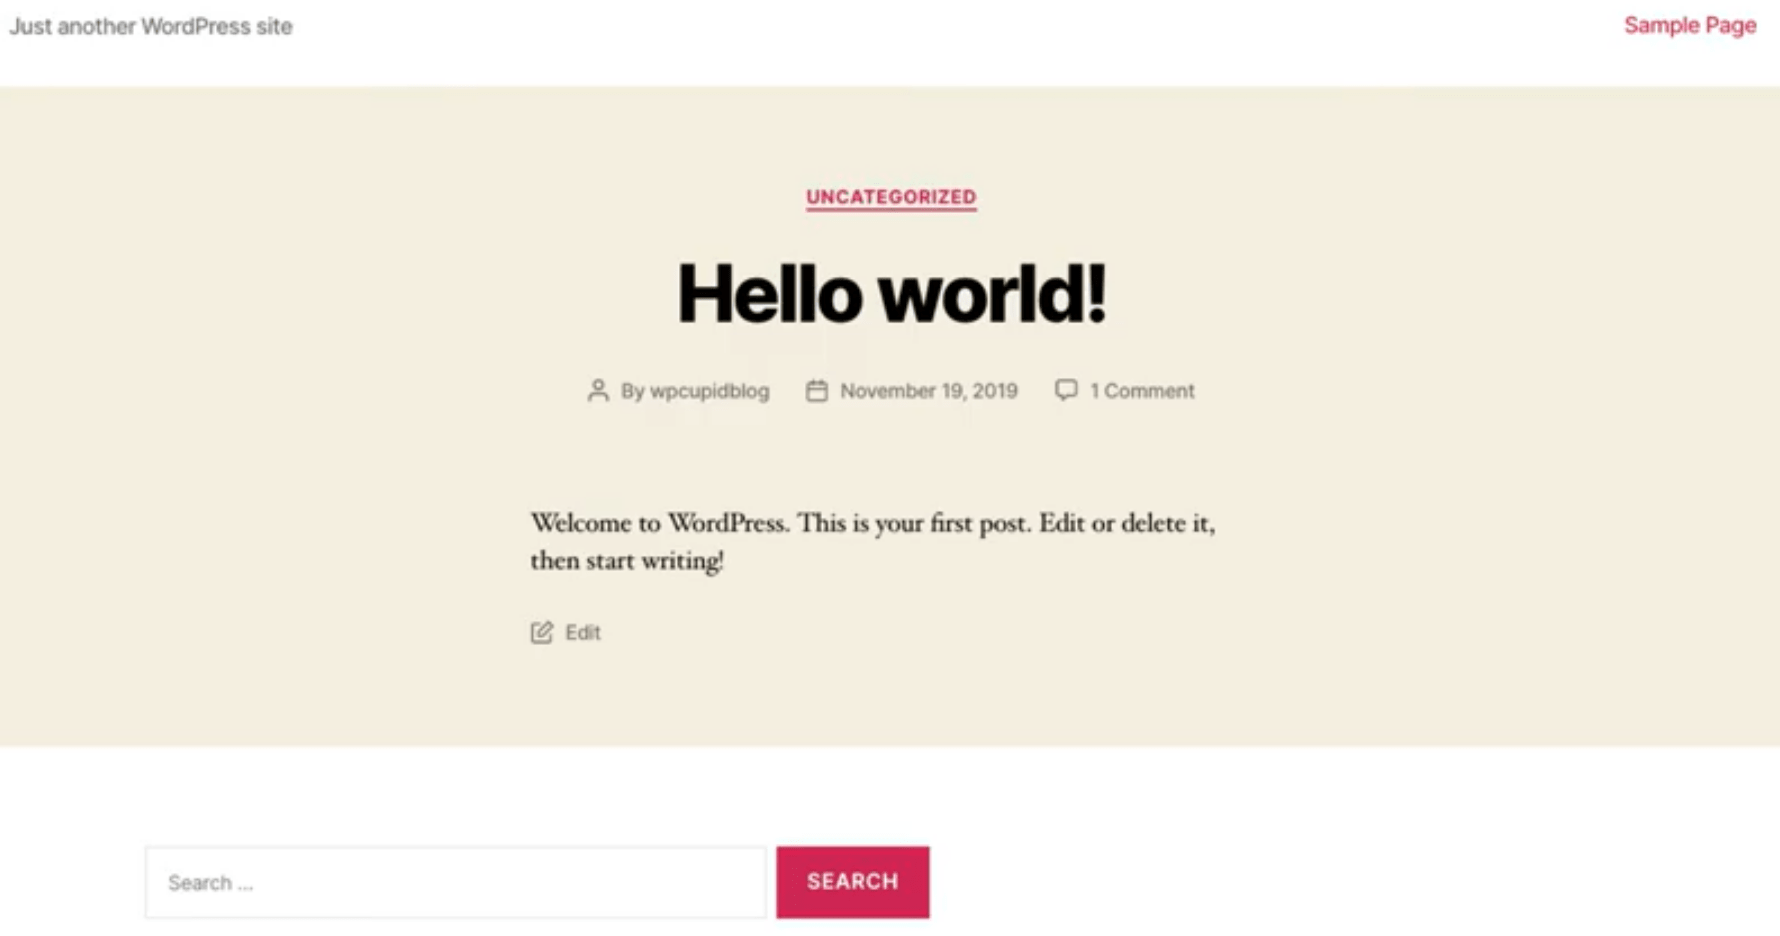
It will look basic at first because it is using the default theme. Now you need to make your site look like you want. There are different themes that you can pick from.
Change your website theme
In this section, you can change the look of your theme or use a different one or a Premium theme.
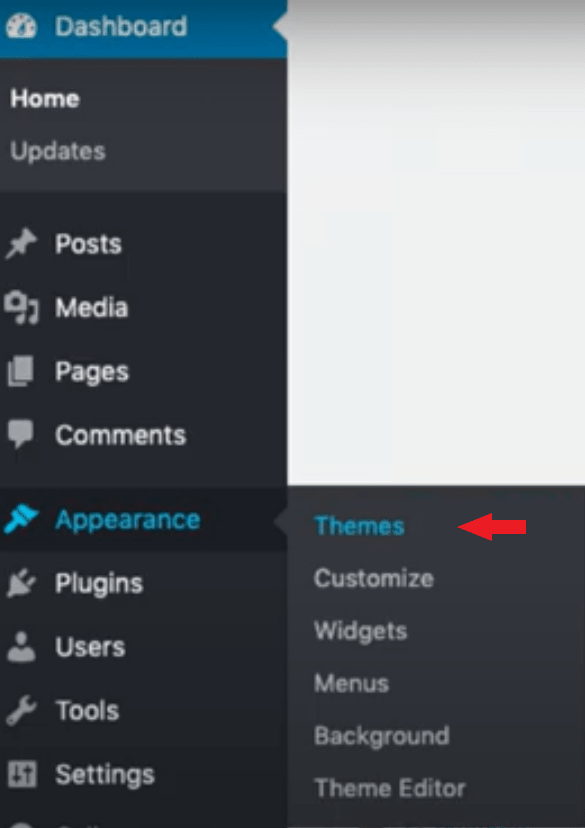
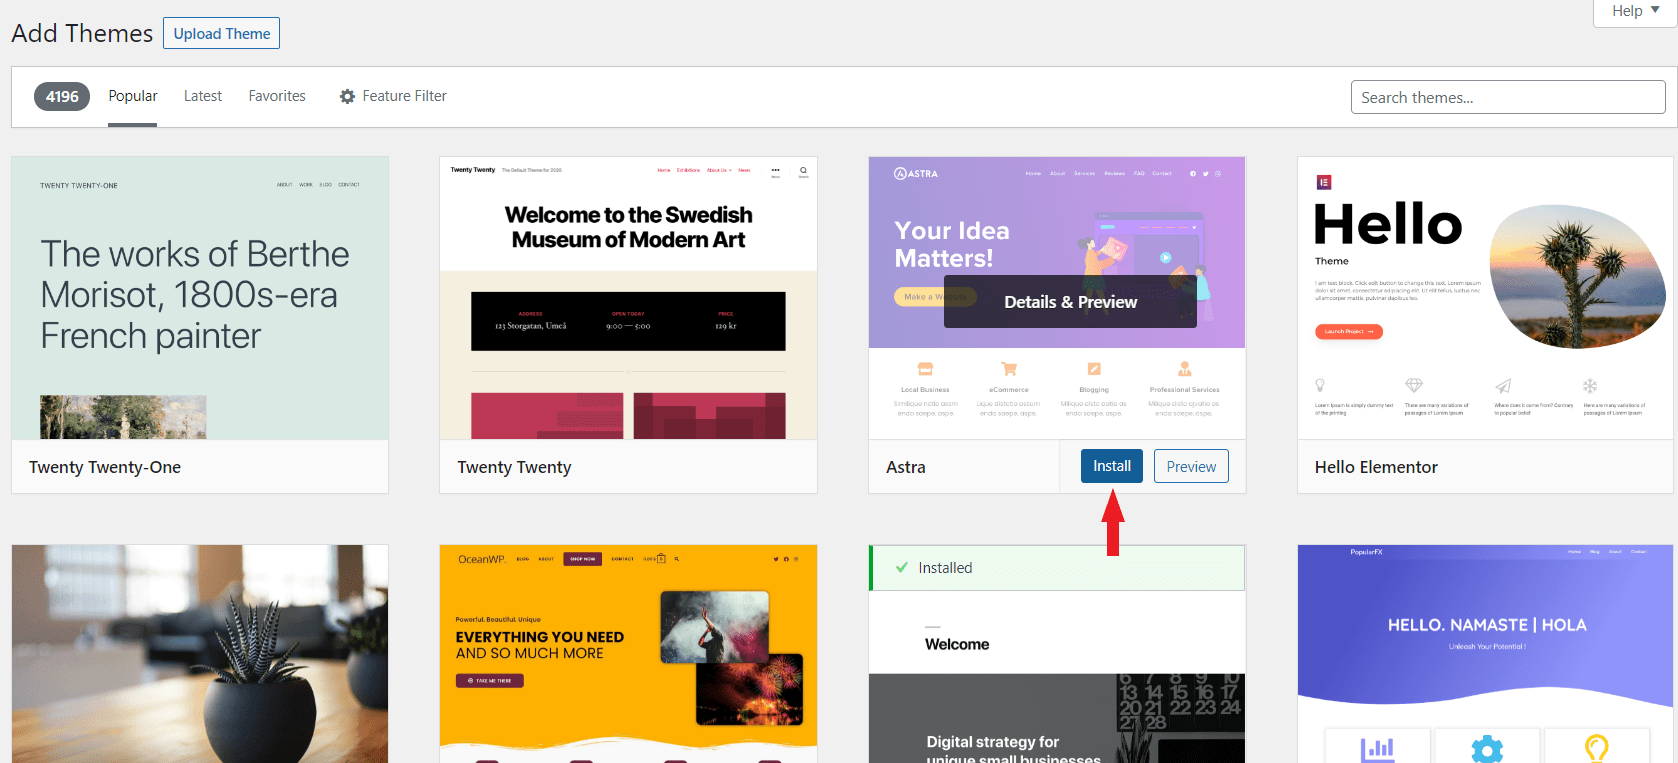
It will show you the most popular free WordPress themes. Click on one of these to make it your website's theme.
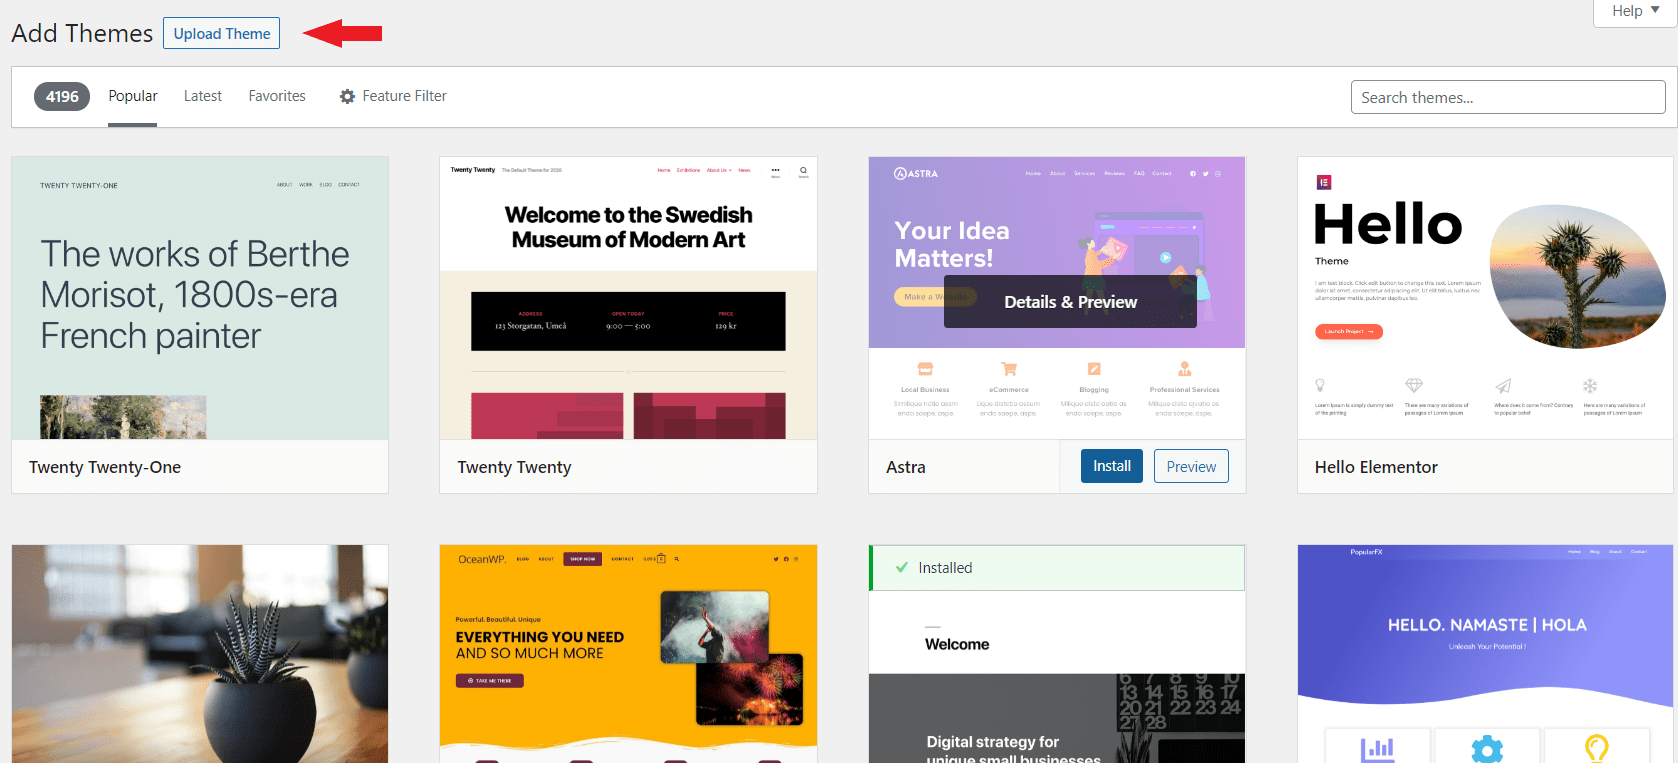
You should also see "Upload Theme" button on this page. This is where you can upload a new theme if you got it from another site or it is a Premium Theme.
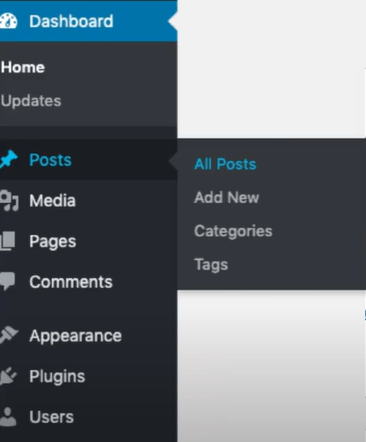
Posts
Posts is where you can add new posts.
Media
You can upload and keep images here.
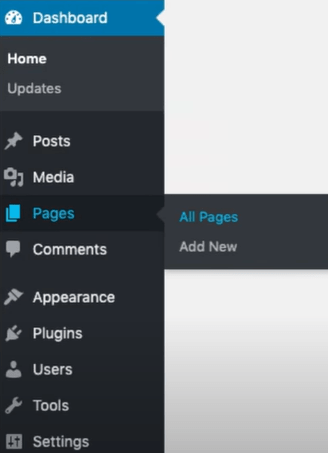
Pages
Pages is where you can add new pages.

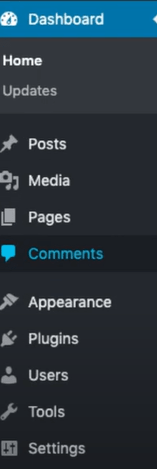
Comments
You can view and reply comments people leave on your blog.
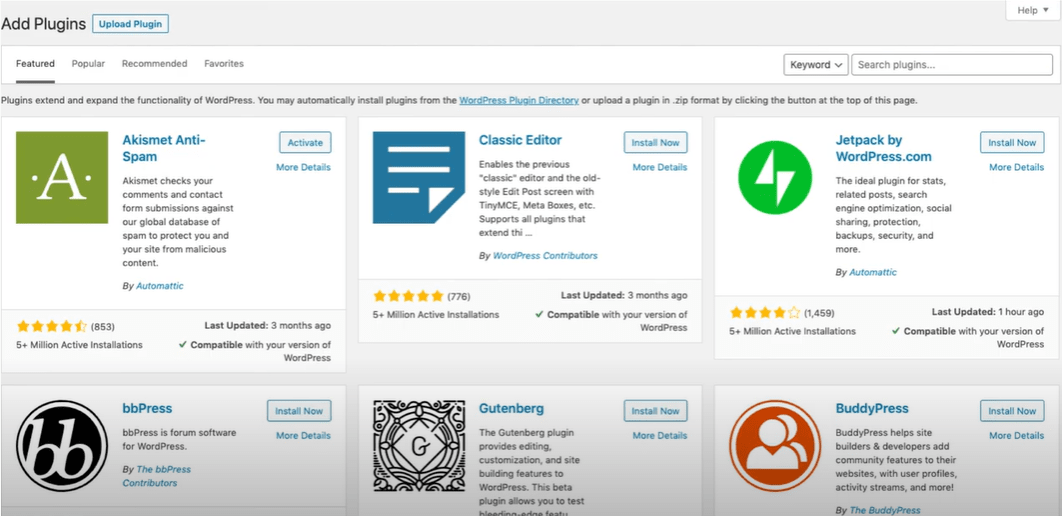
Plugins
You can manage your installed plugins and add new plugins here for your site.

There are many plugins you can use to make your website.
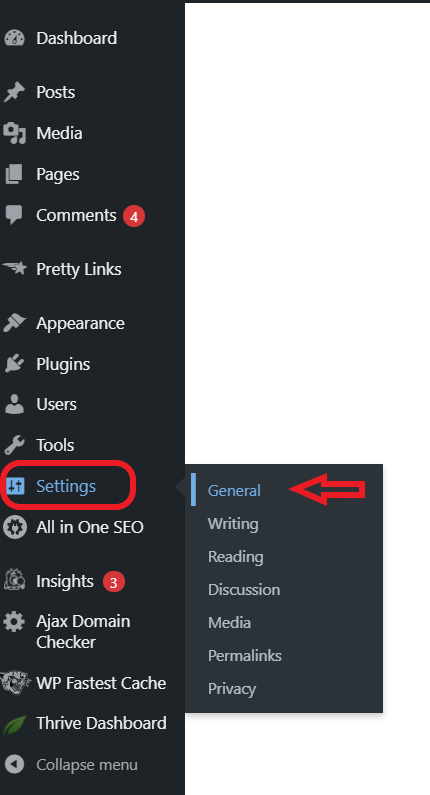
WordPress Settings - Set up a SEO friendly site
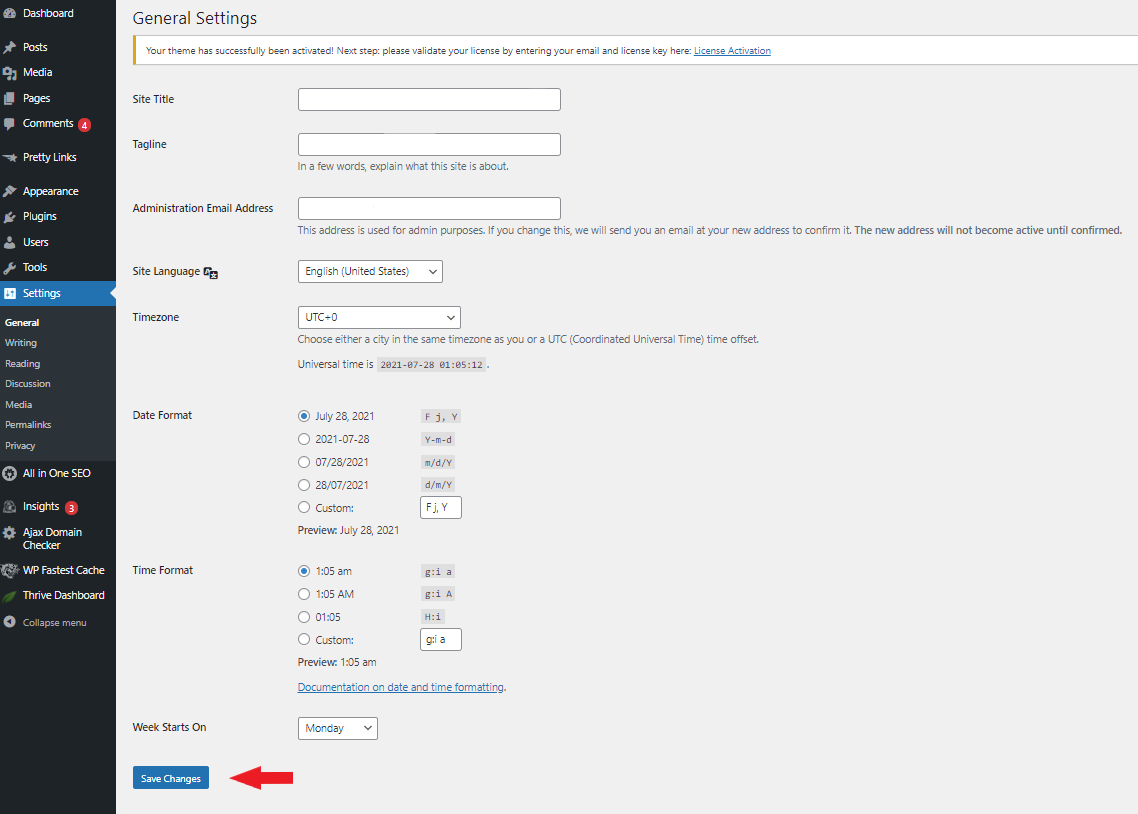
1. General settings
2. Permalink settings
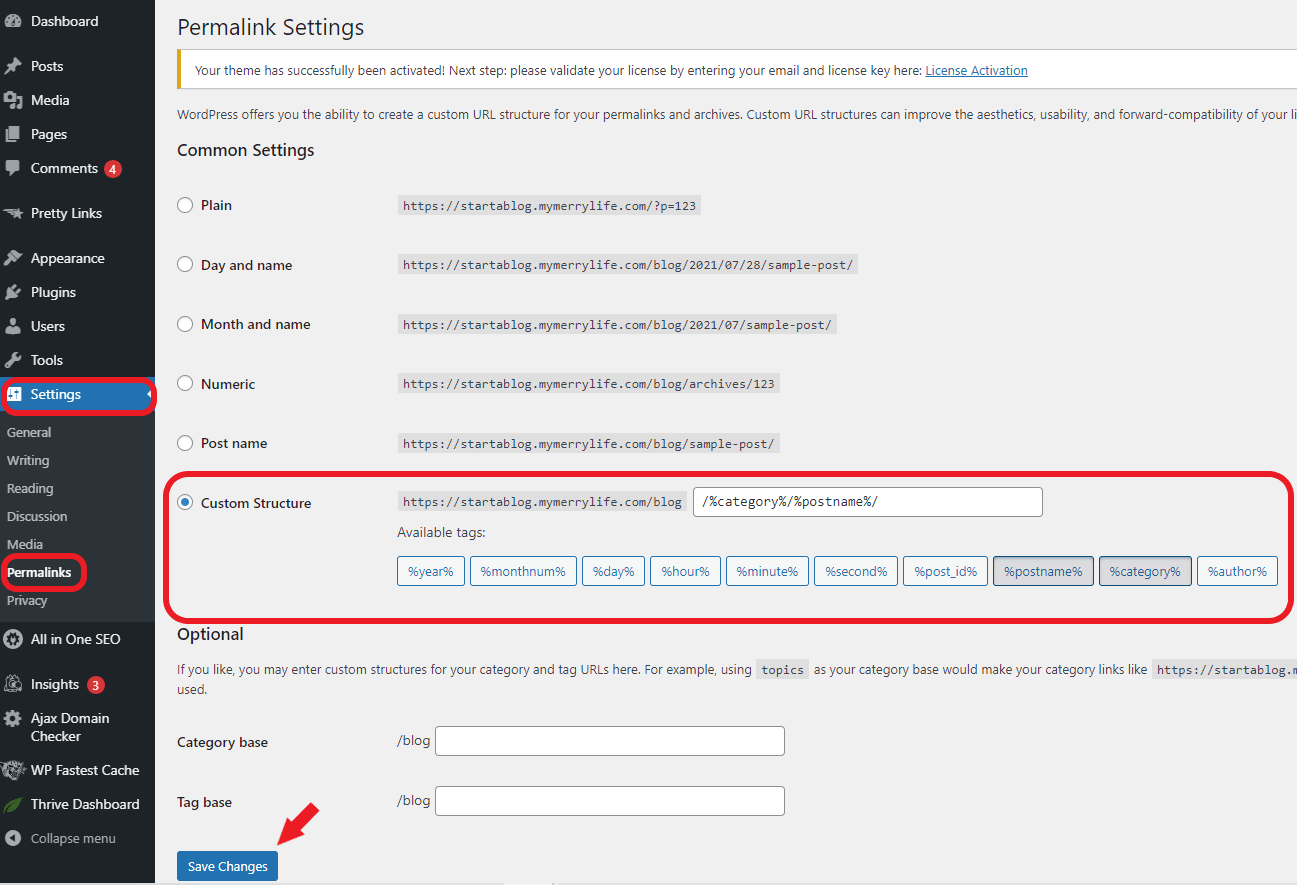
Your permalink structure should be: http:// YOURNAME.com/%category%/%postname%
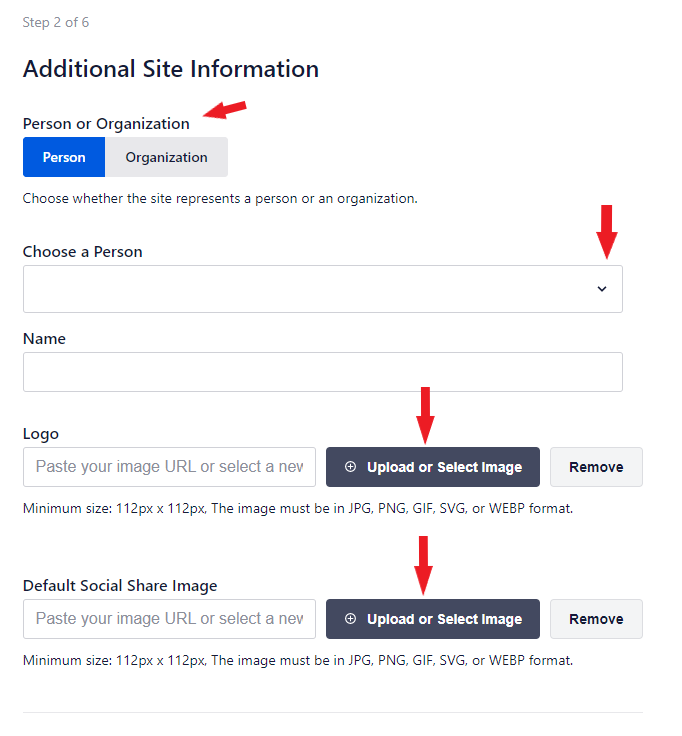
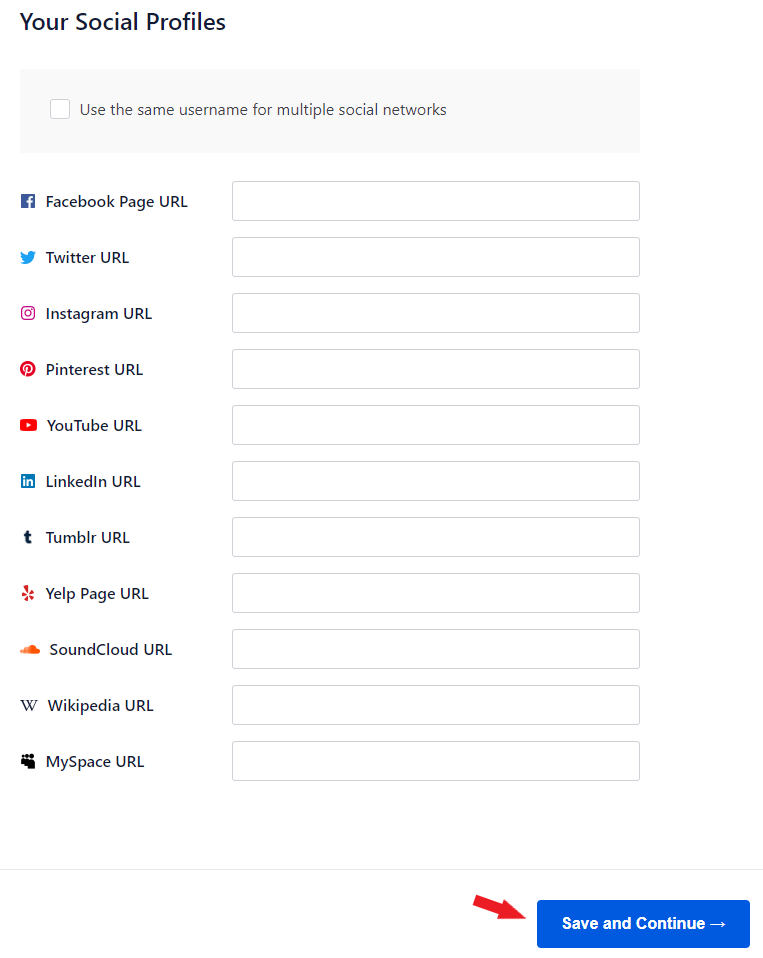
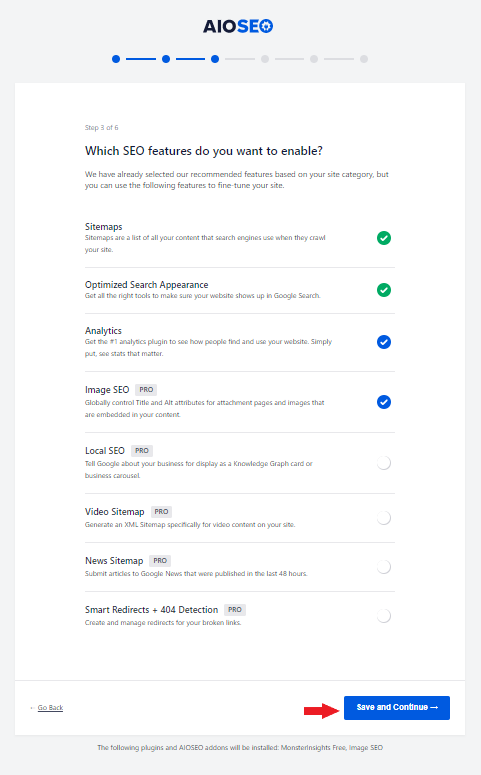
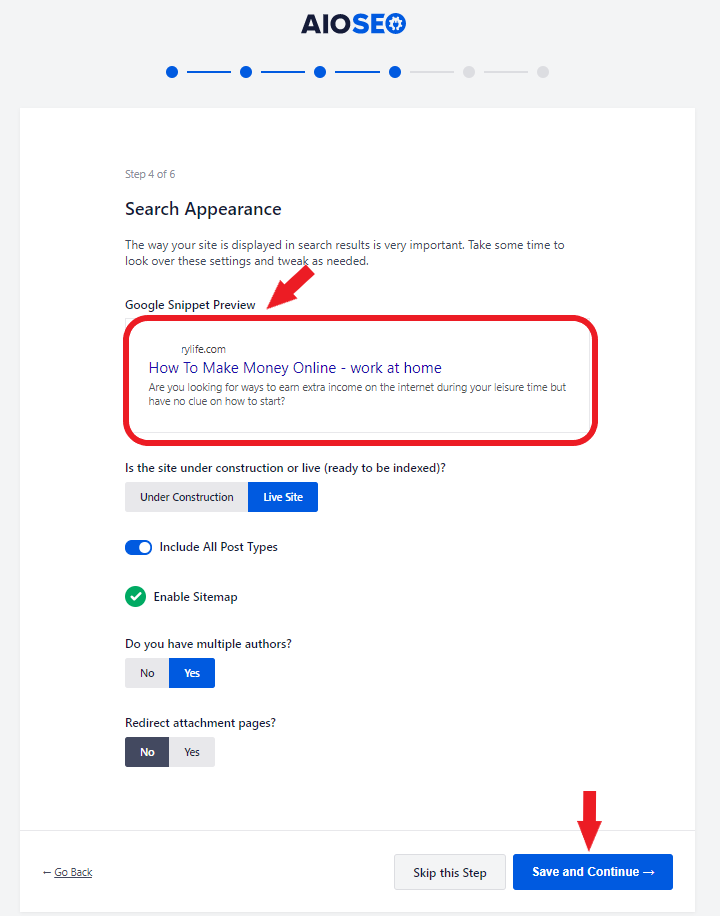
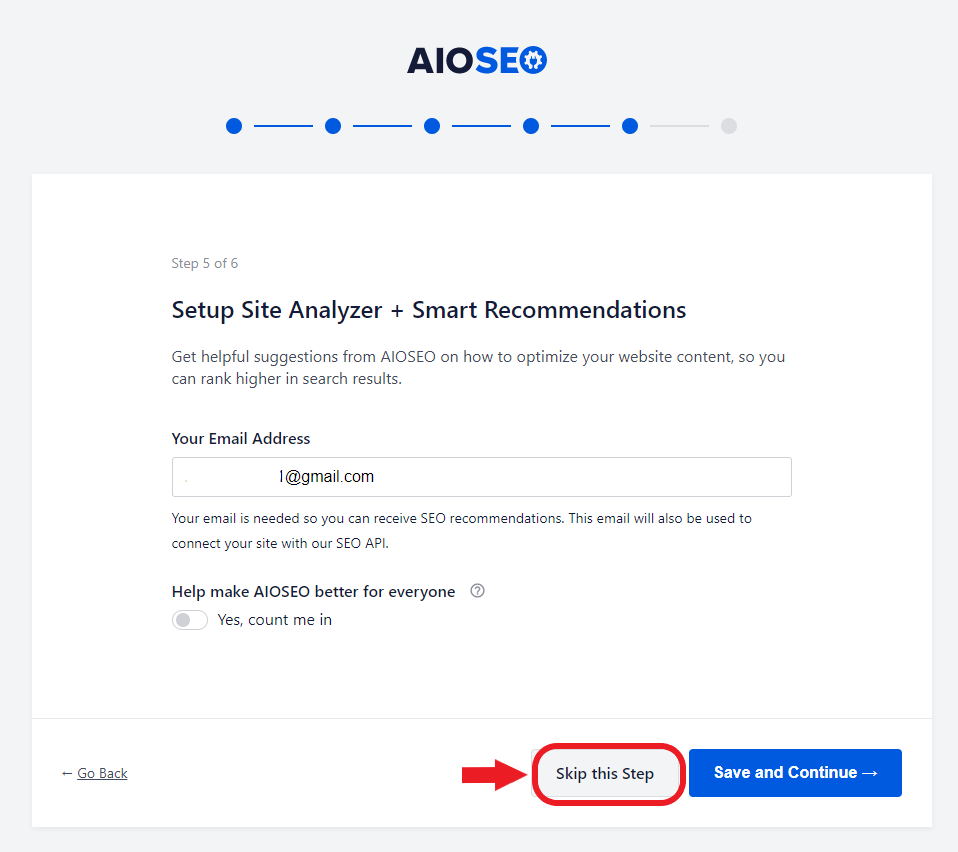
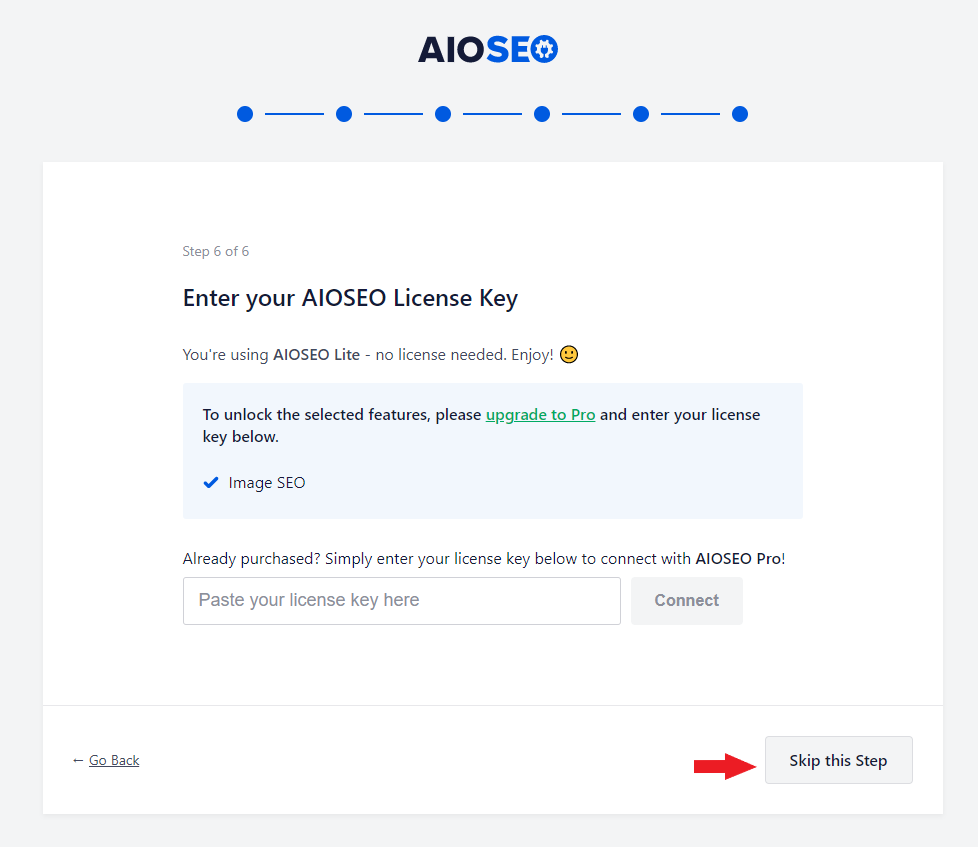
3. Add the All In One SEO plugin and settings
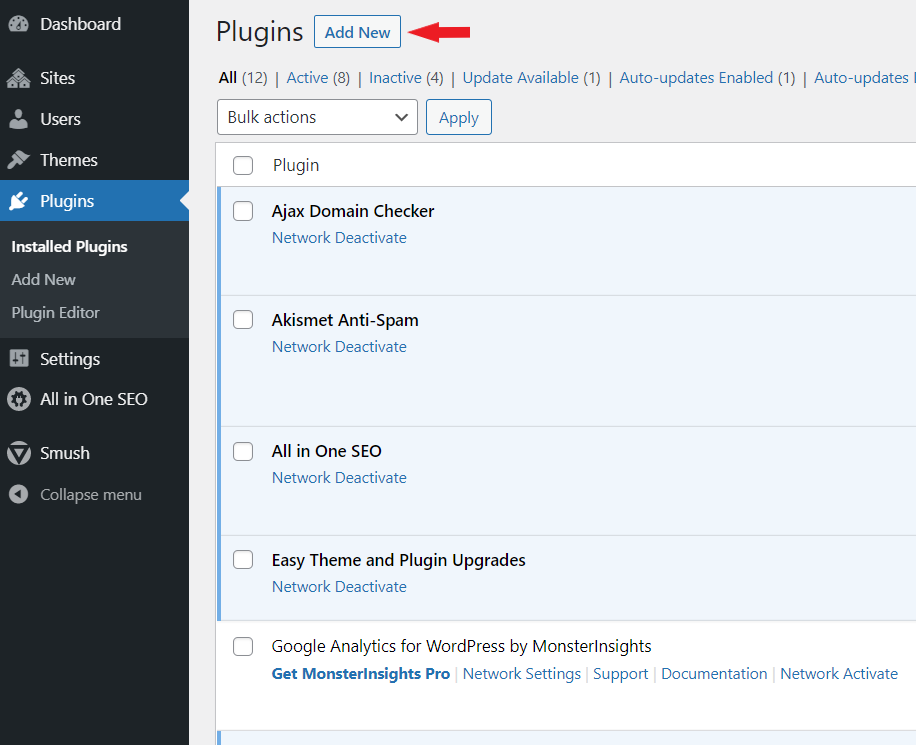
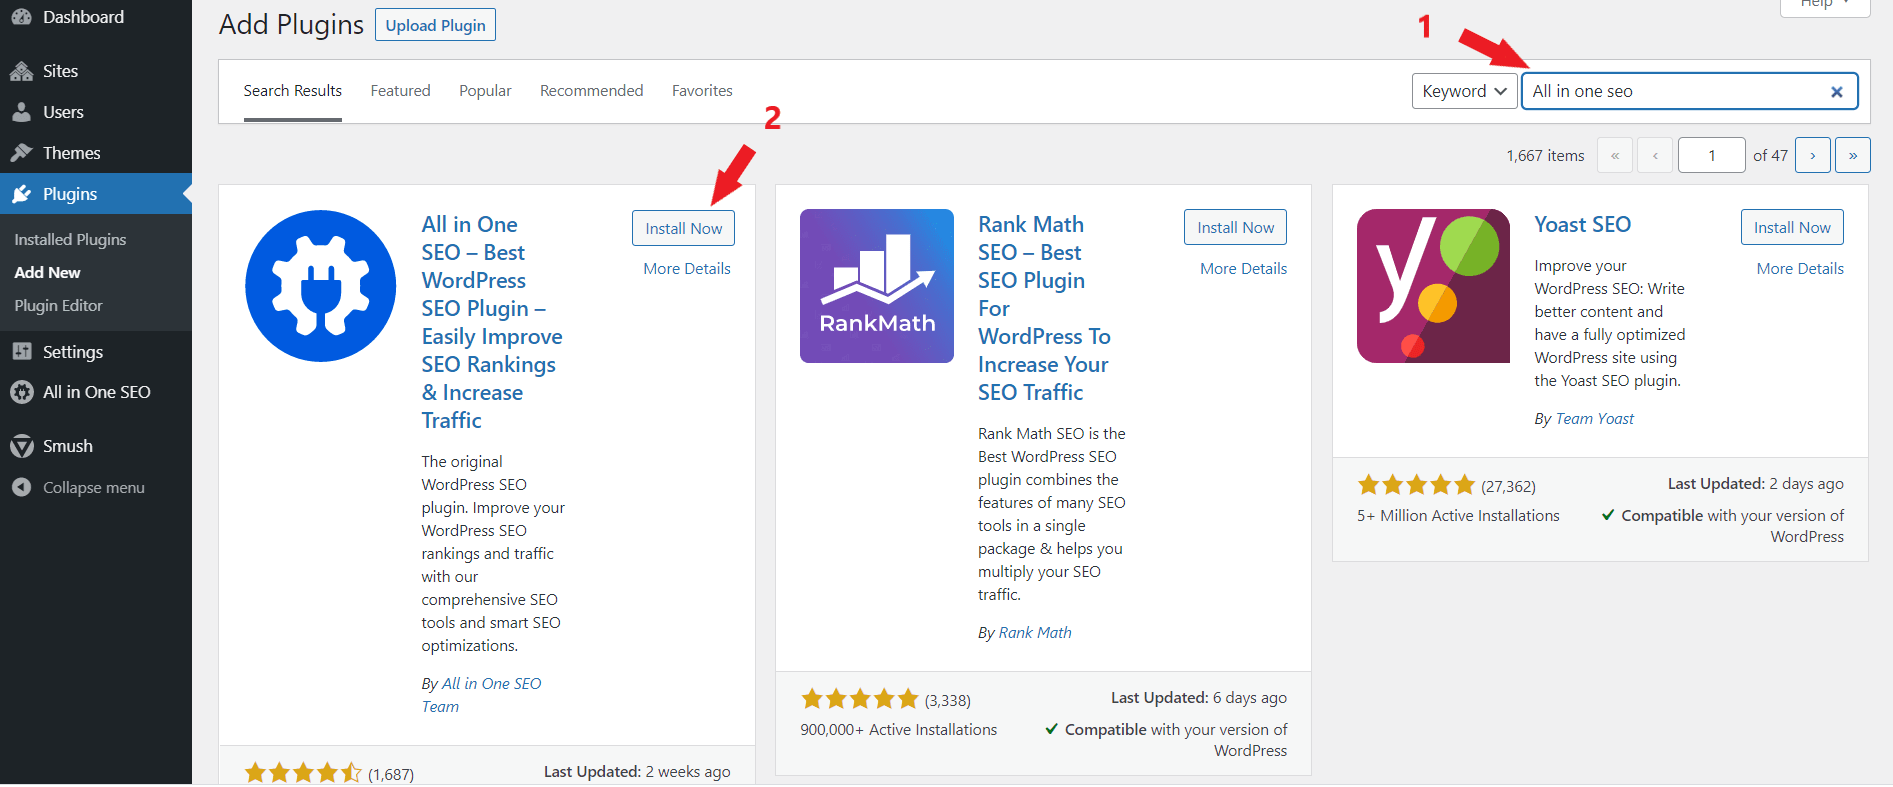
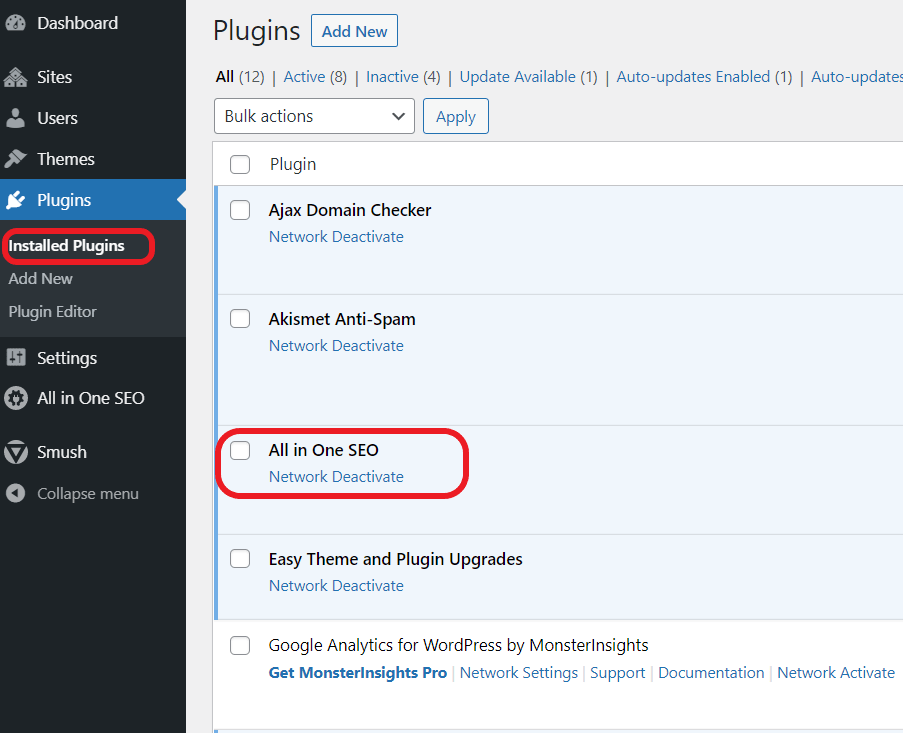
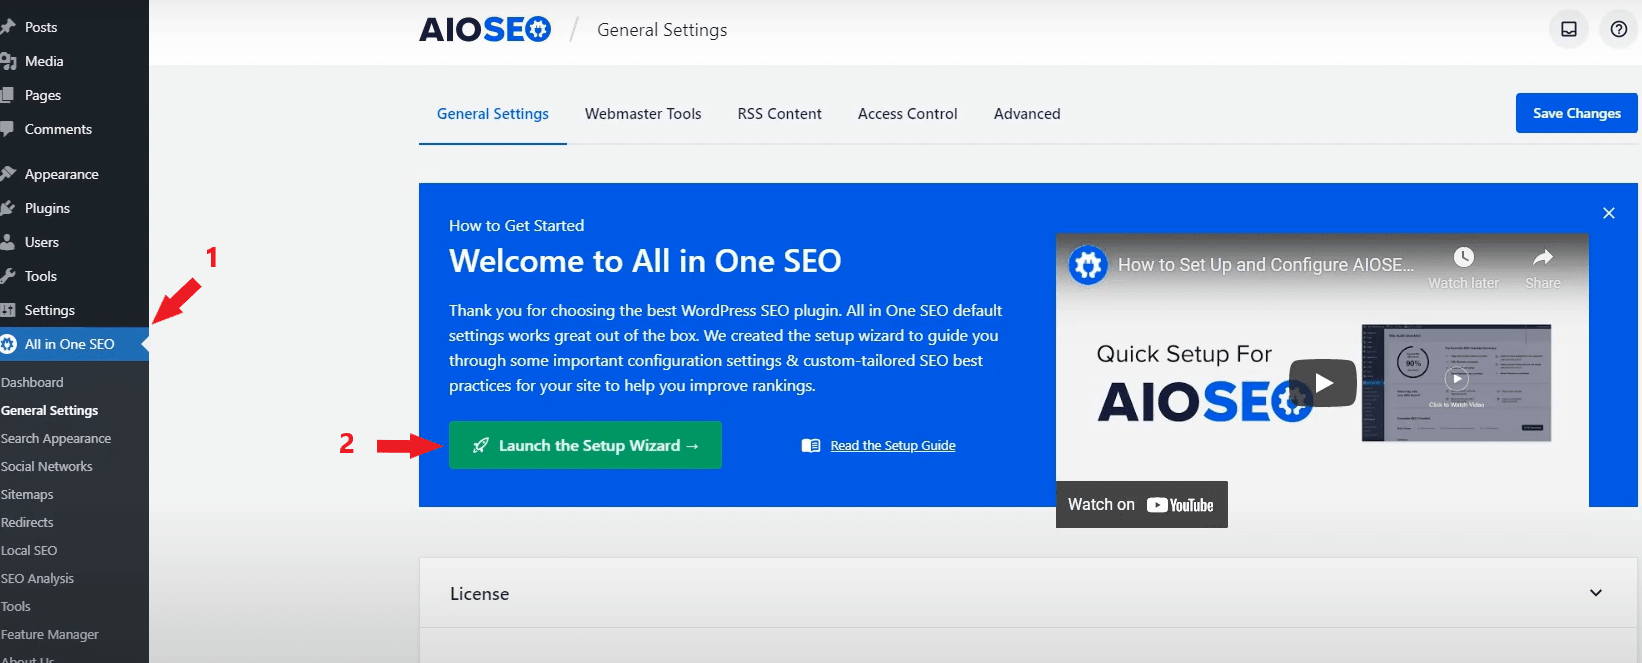
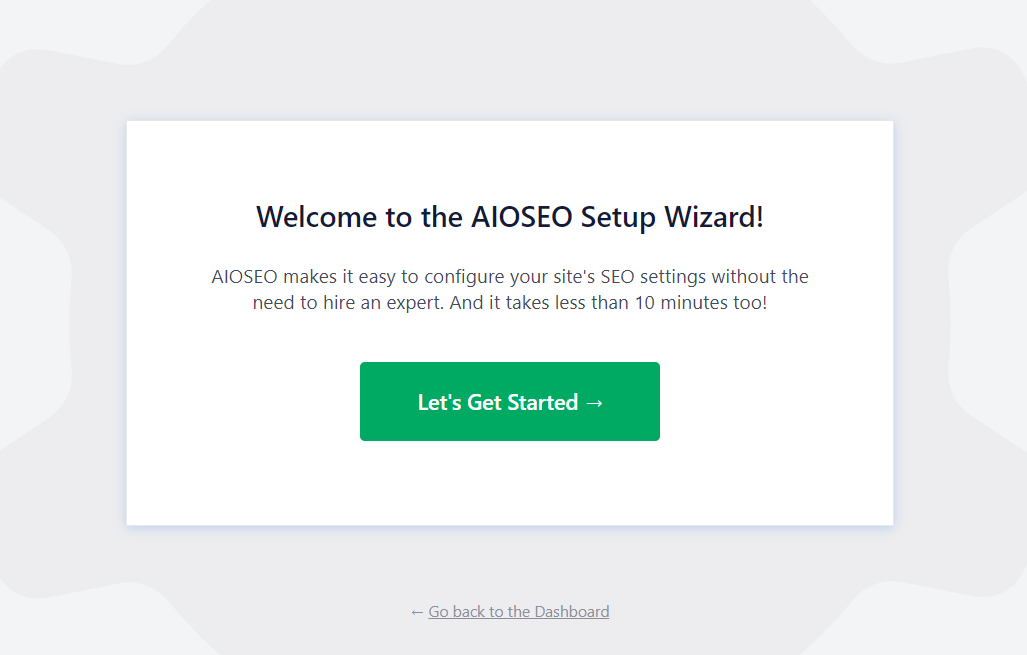
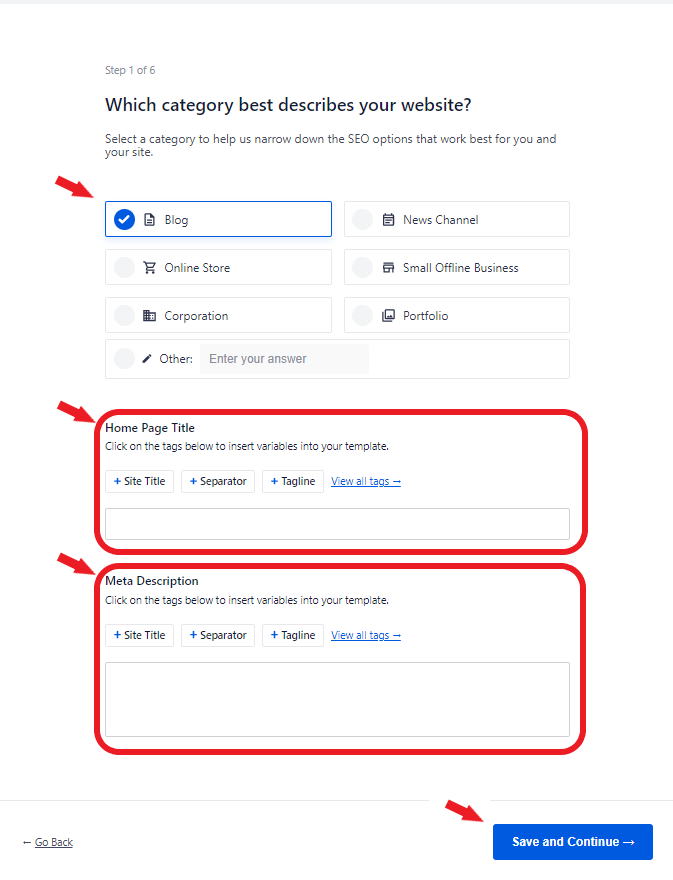
Add the Additional Site Information.
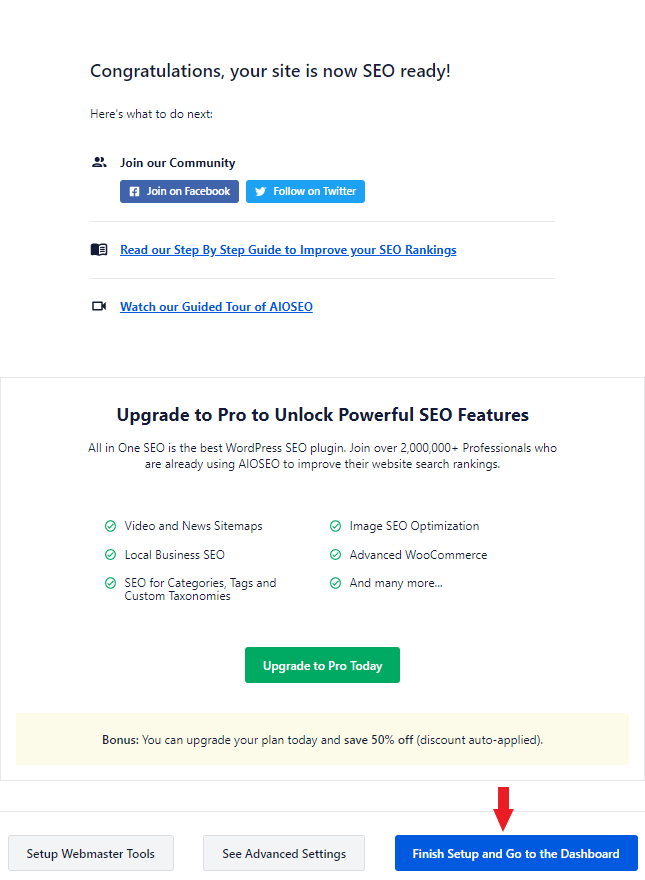
Congratulations! You have now set up your own website. The next step is to create a framework for what you want people to see when they come to visit your site and then optimize it so that all of its features work at their best level possible.
I hope this article has been helpful. Please let me know if you have any questions in the comments, and I'll do my best to get back to you quickly!
