Do you want to create a website or start blogging? You don't need an expensive degree or years of experience - just follow these simple steps with us here at BlueHost.
When it comes to creating your own WordPress website, there’s no better way than Bluehost. In this article, I am going to share with you “How to create your own WordPress website or blog with BlueHost".
With BlueHost you can have a site up in under ten minutes and be live on the internet within hours!
Step 1 - Sign Up With Bluehost
When you have picked your domain name, the next step is to buy a domain name and hosting to start your own website.
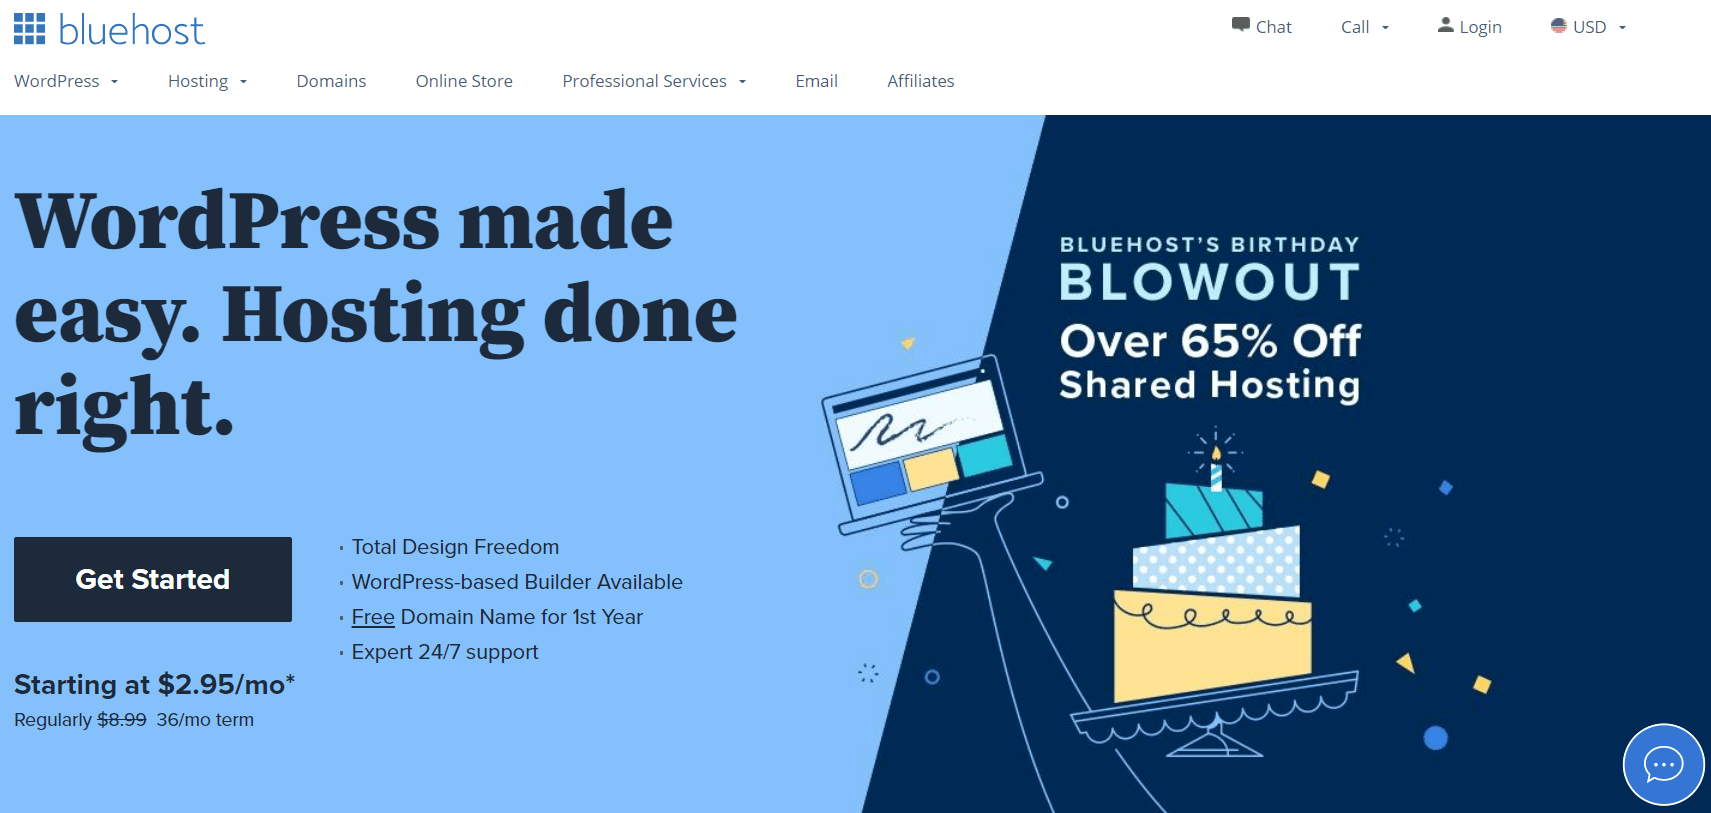
Go to their website: Click here or the following button to get 65% Off Bluehost. On the homepage, find the button that says "Get Started".
Step 2 - Select Your Website Hosting Plan
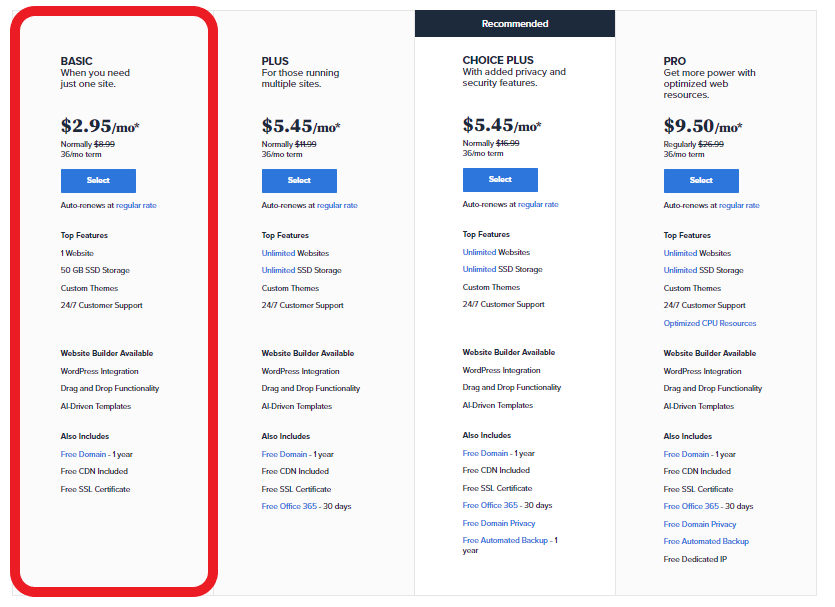
There are four hosting plans to choose from. BASIC, PLUS, CHOICE PLUS and PRO. I recommend that new bloggers start with the BASIC plan.
It is the cheapest and easiest to use. You can always upgrade to more power and features later if you want them. Click “Select” to choose your plan.
Step 3 - Choose Your Own Domain Name
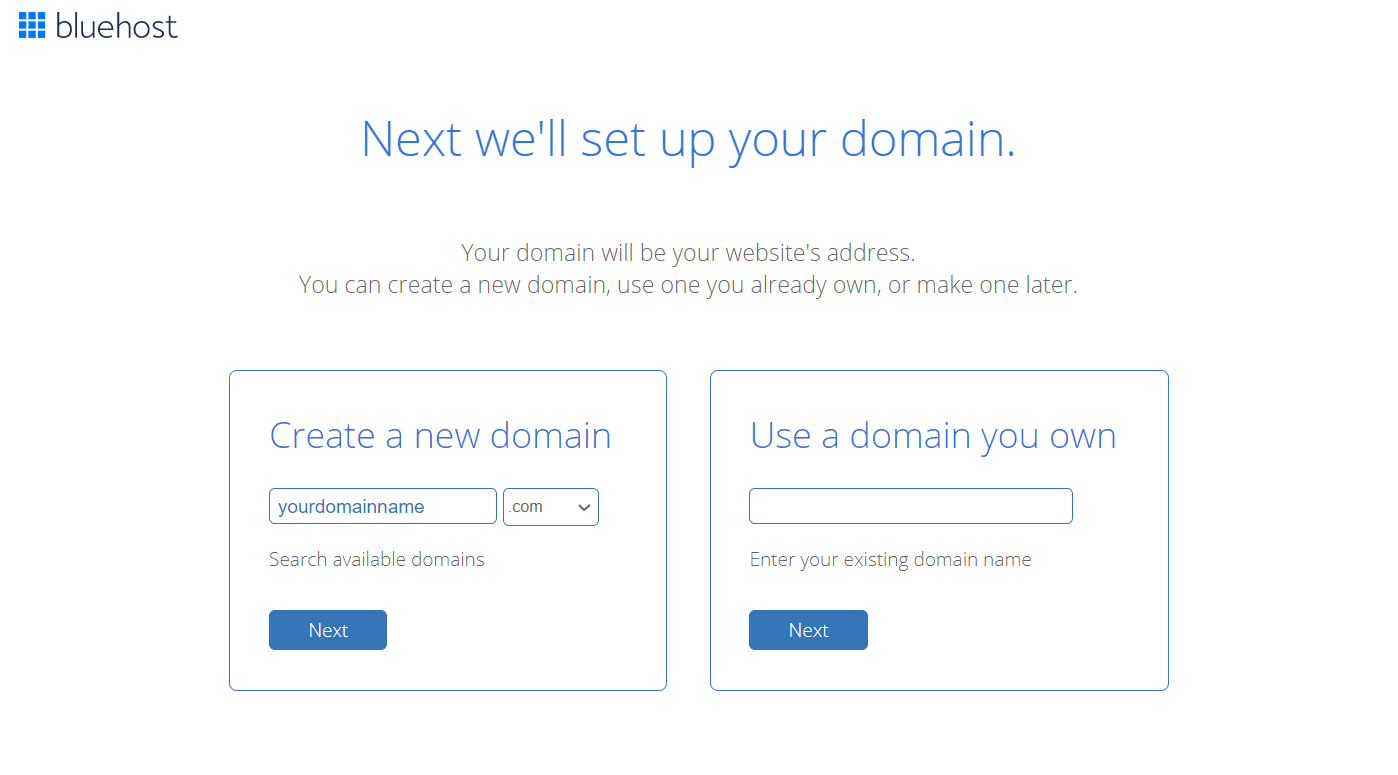
Once you pick a plan, you will be asked for your domain name. You can choose between two options.
- 1Register your website domain with the left box "Create a new domain" and see if it is available by clicking next.
- 2If you have paid for a domain name to use on your website, use the right box "Use a domain you own" and type in that name and then click next.
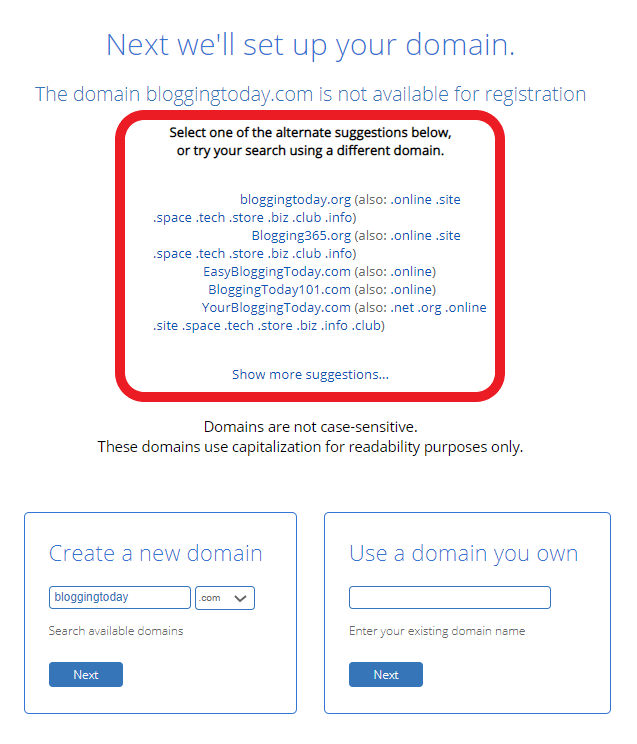
When the domain you want is unavailable, they will show a list of similar domains that are available. You can choose one from their suggestions or type in an alternate name to try out instead!
Step 4 - Complete Your Personal Information
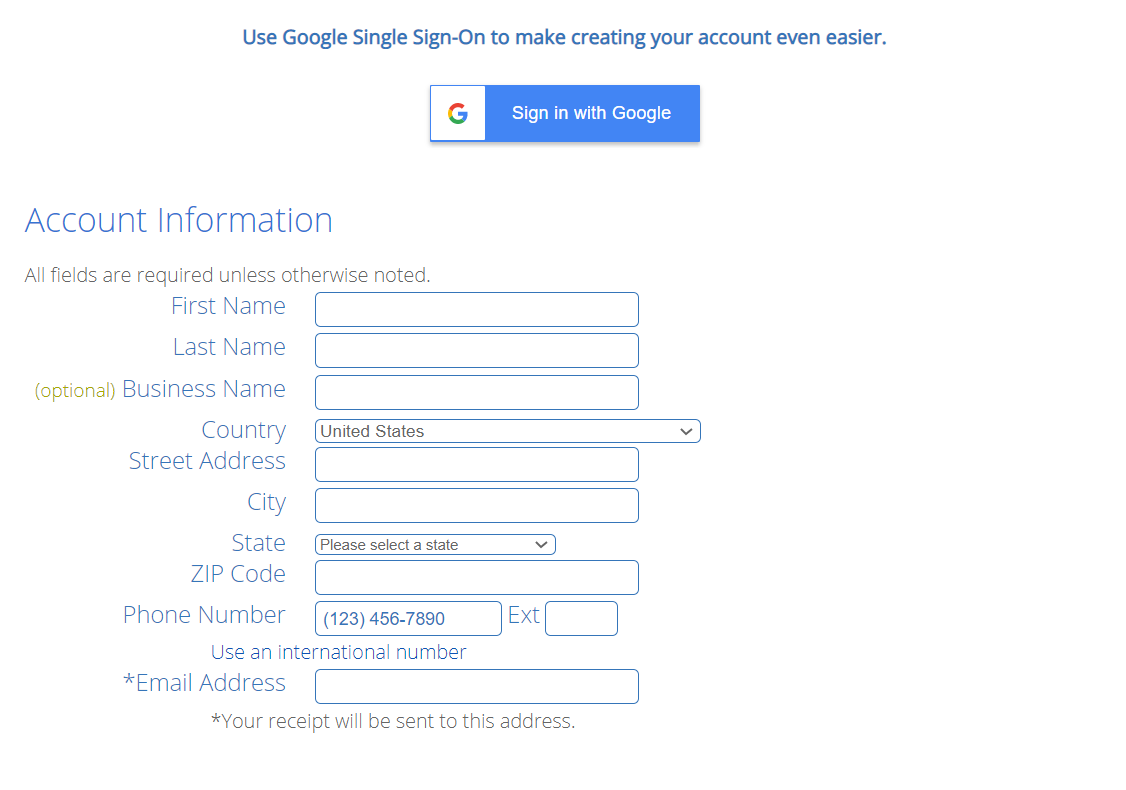
When you have found an available domain name, you will put in your personal information. It is the same as on every website's checkout. (You can use Google Single Sign-On to make creating your account even easier.)
1. Enter your address, billing details like first and last name, email, password, country phone number.
2. Choose your hosting package and options.
There are now different plans for how long you will get a Bluehost package. The 36-month pack gets the lowest monthly rate, while the 12-month has a lower upfront cost. But there is no contract so you can cancel whenever!
Not all the add-ons are necessary. I recommend you get this one: Domain Privacy Protection.
Domain privacy protection is an extra option that can make your personal information private. For $0.99 a month, Bluehost will hide your name, address, and email from the public. If you want to keep your information private from people who might want to steal it, this is a good idea!
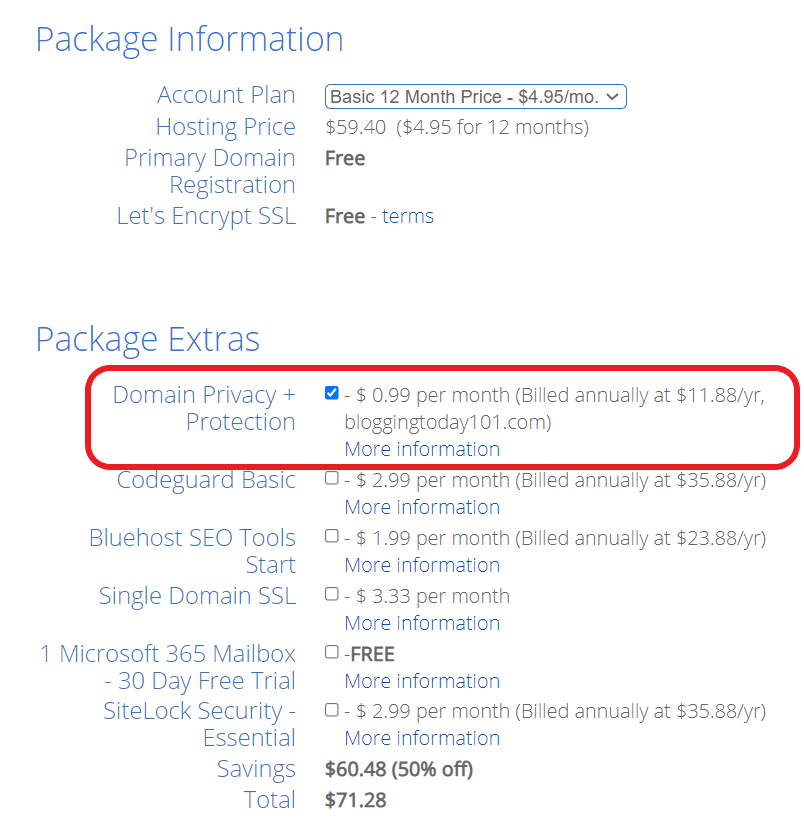
3. Pick a payment option for Bluehost.
It can be paid with credit card or PayPal. Then hit the “submit” button and that’s it - You have signed up with BlueHost.
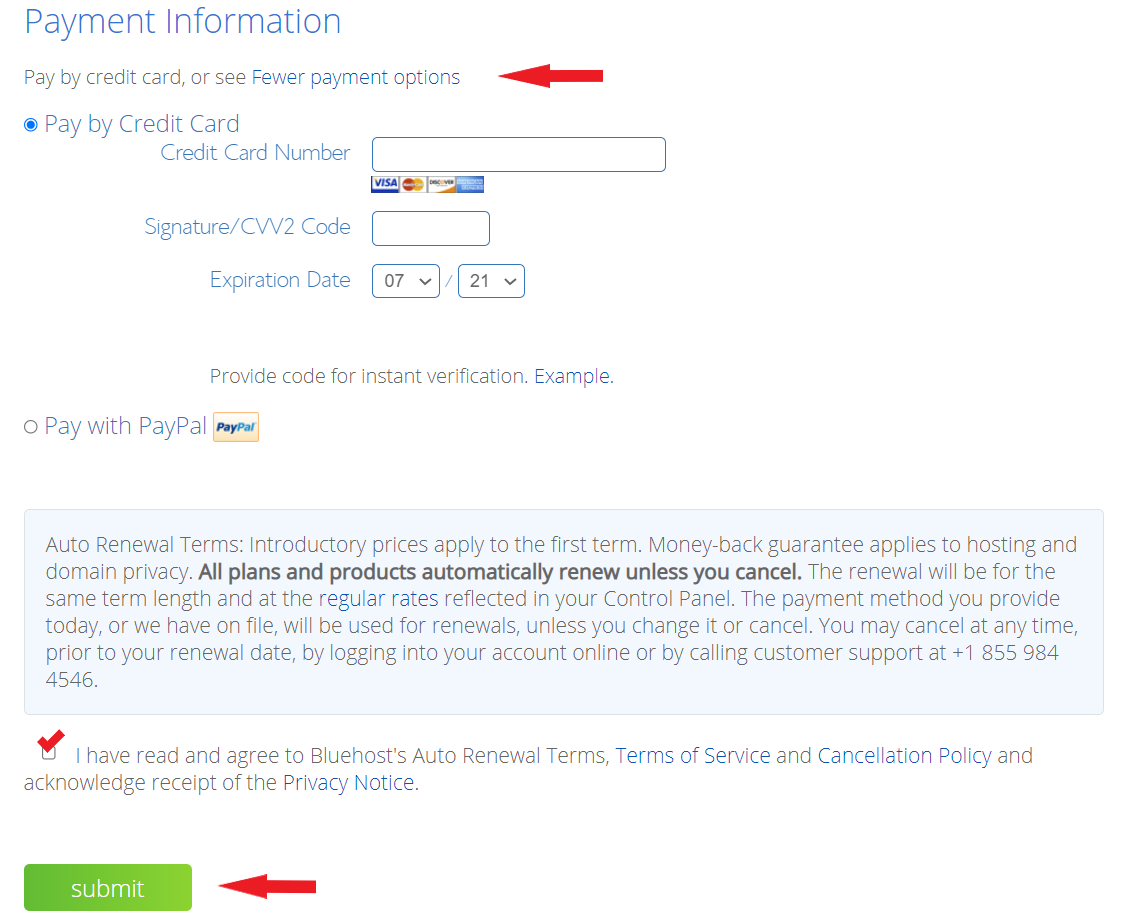
Congratulations! You have now created an account with Bluehost and you will soon receive a welcome email. This email has all the information you need to log in to your account.
The next step is to install WordPress. WordPress is free and easy-to-use software that you must install for it to work.
If you have not already registered for hosting, go to Bluehost.com and register now.
Step 5 - Login to Your Account and Install WordPress
1. Login to your account at BlueHost.com.
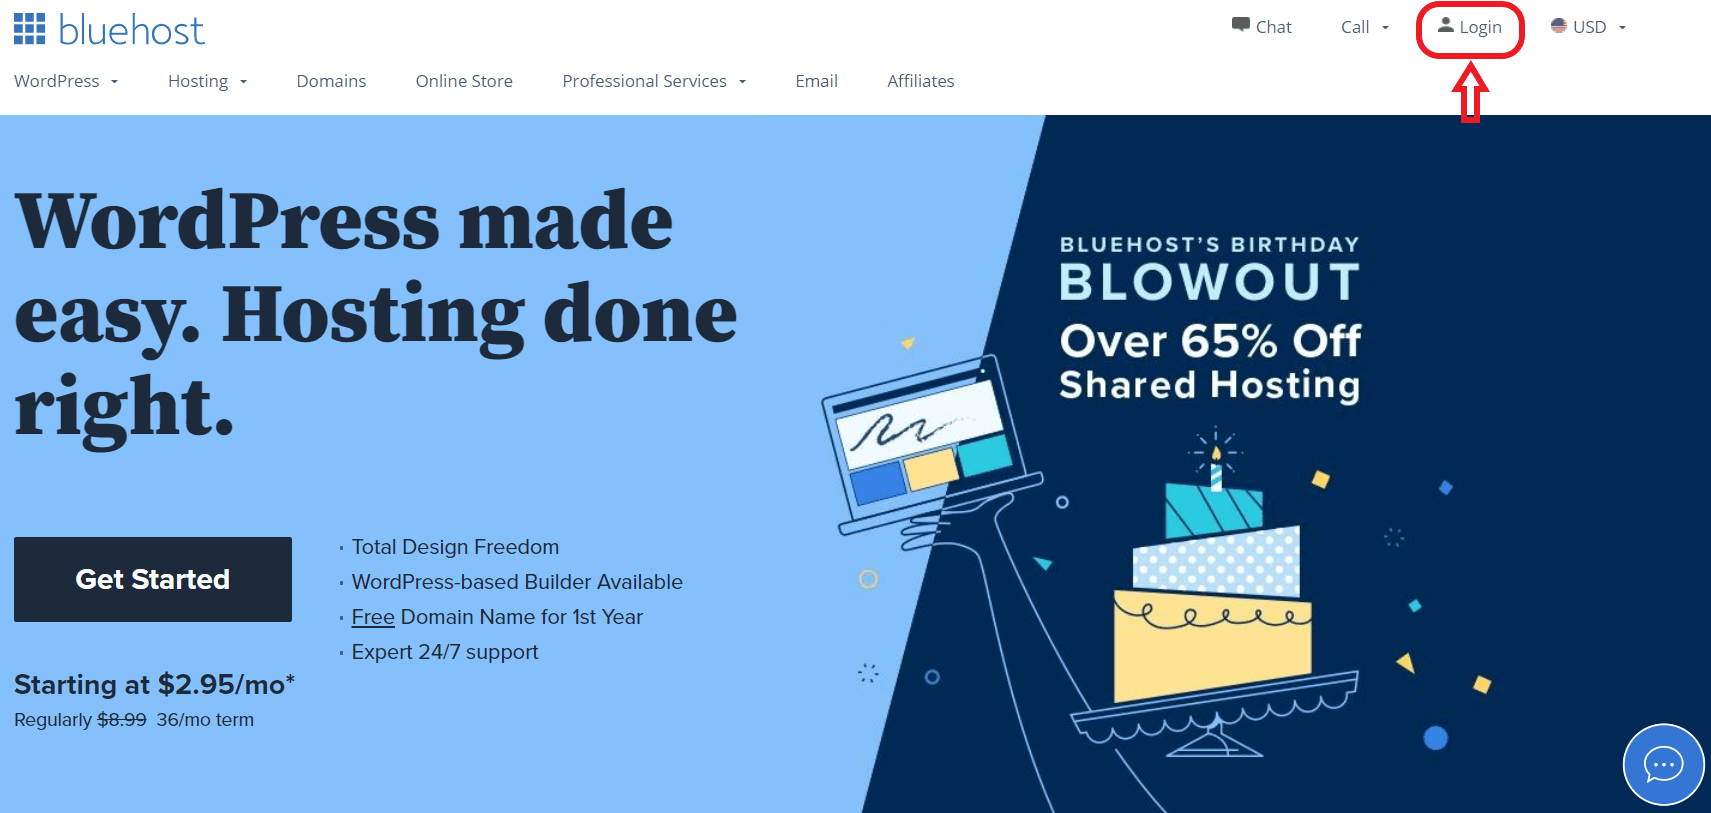
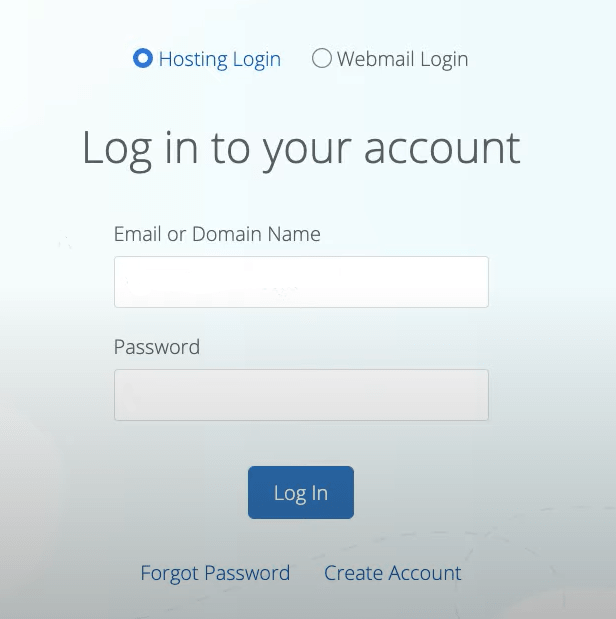
2. Click on the “Create your website” button.

3. Click “skip this step” on the next few pages.
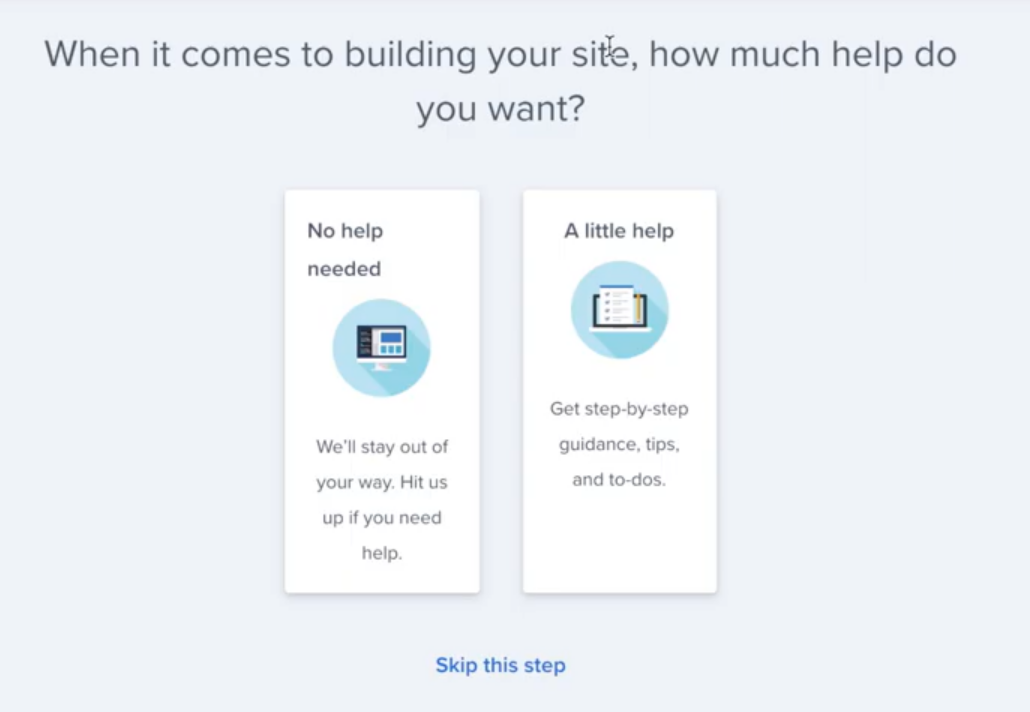
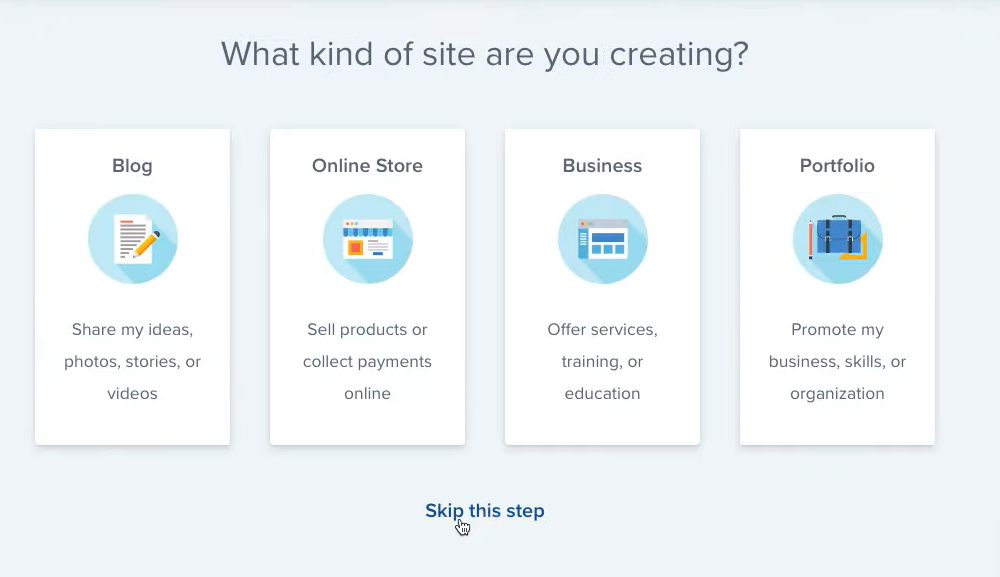
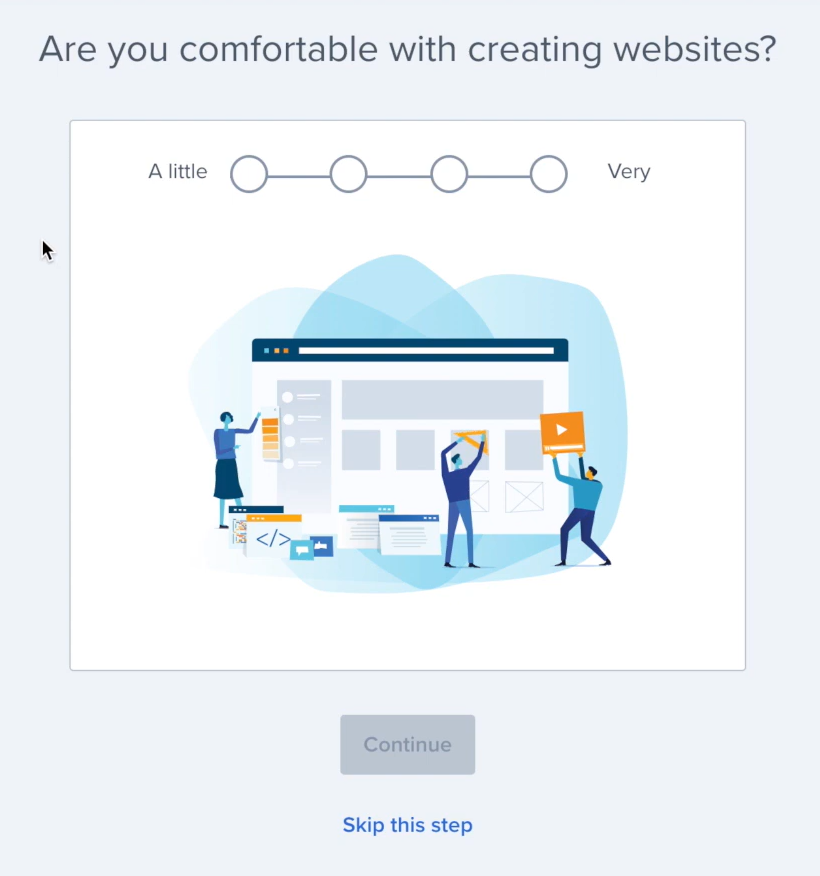
4. Click the “Get started” button to install WordPress.
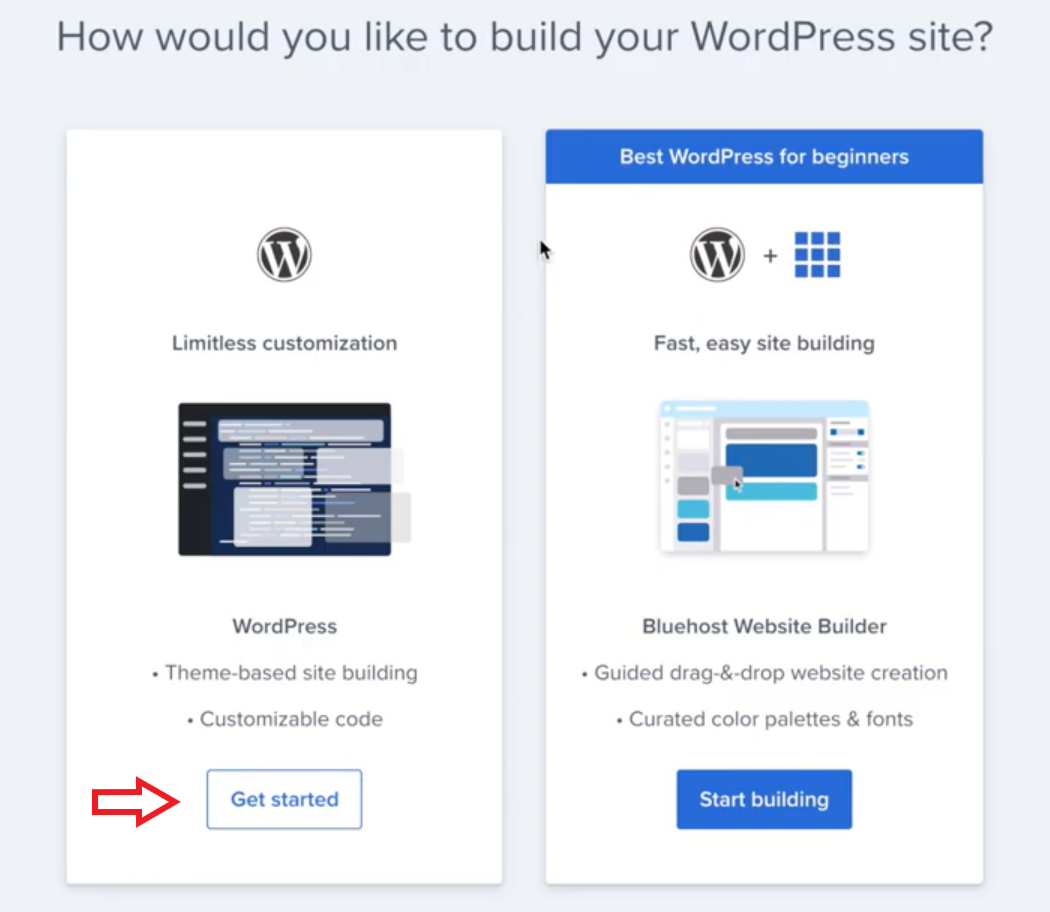
5. Click “skip this step” on the next few pages.
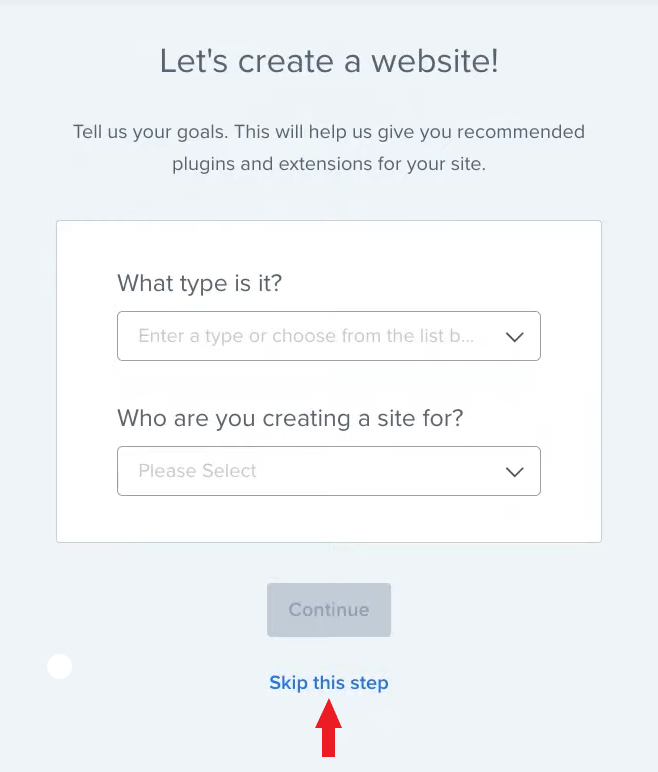
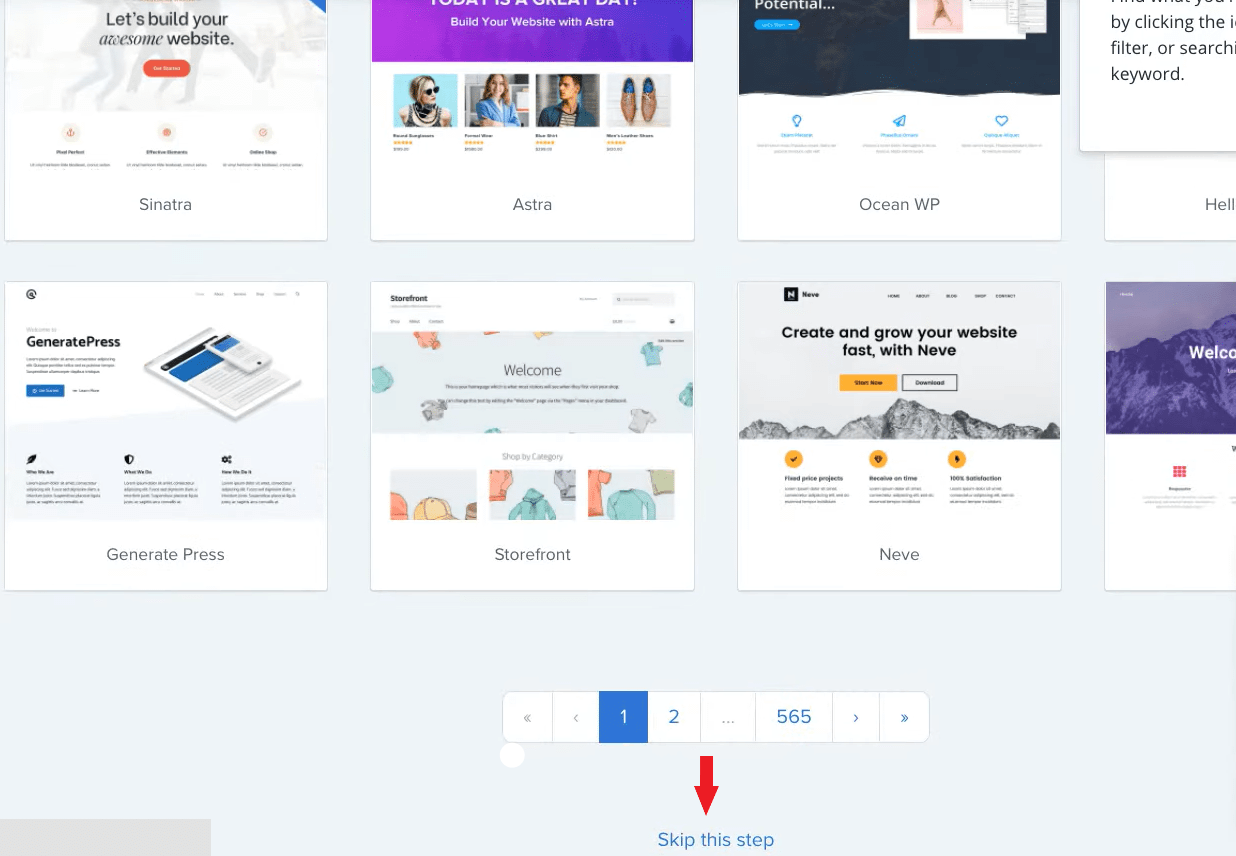

Congratulations! The WordPress software will be installed now. After installation, it will be automatically redirected to the Bluehost dashboard.
Step 6 - Bluehost Dashboard Settings
1. Security settings
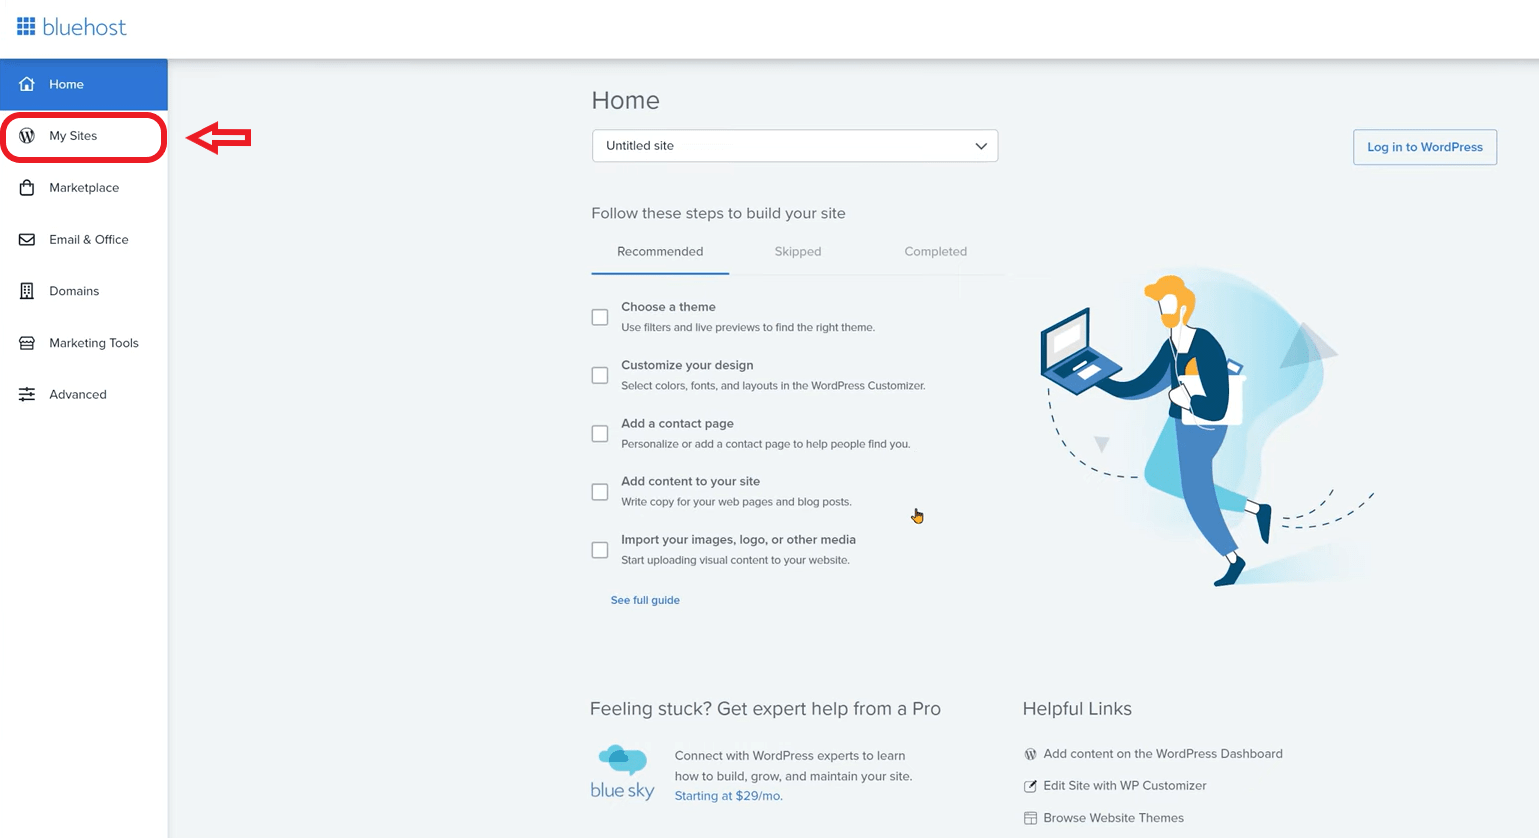


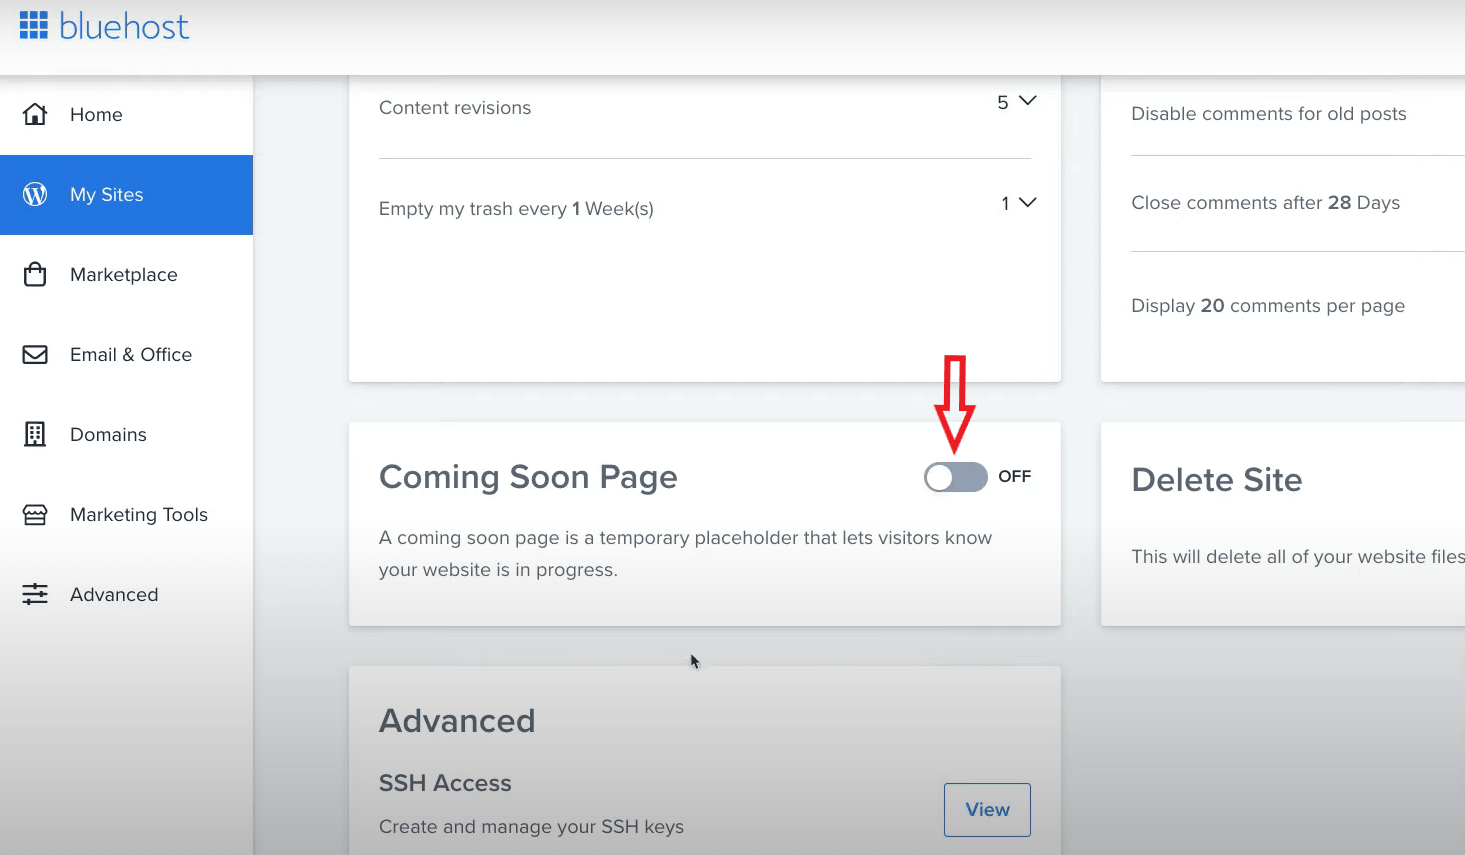
2. Coming soon page settings
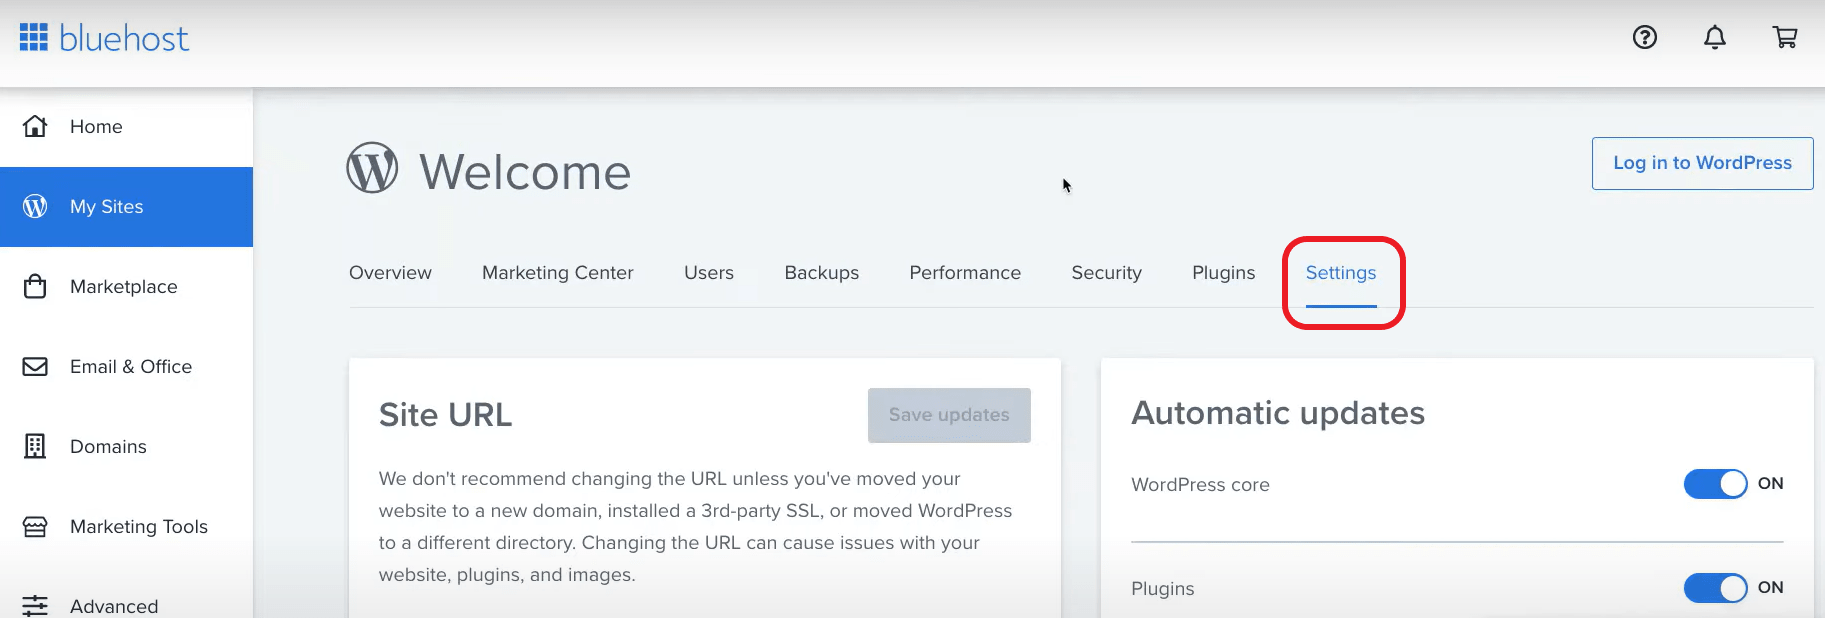
3. Create and set up branded email address
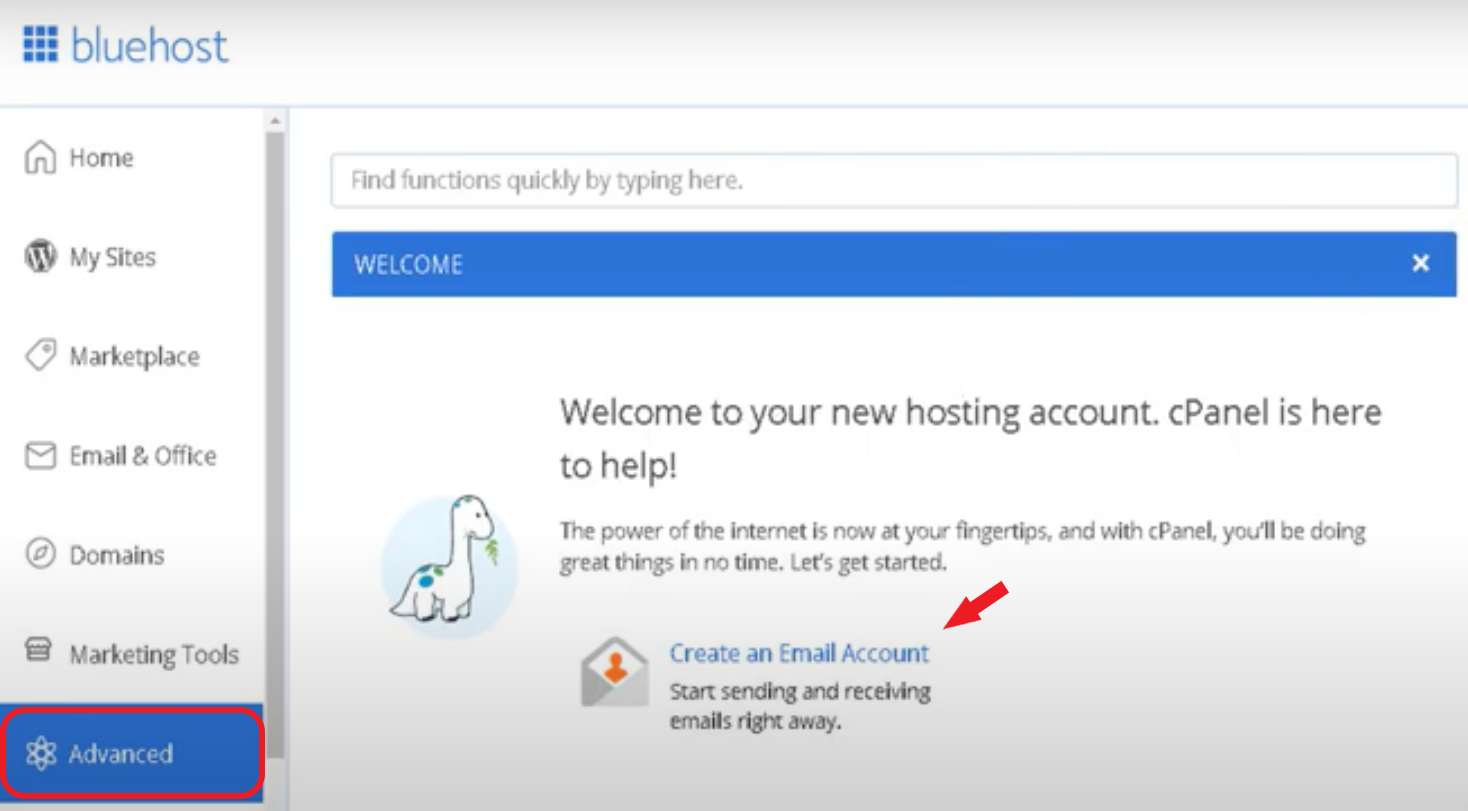
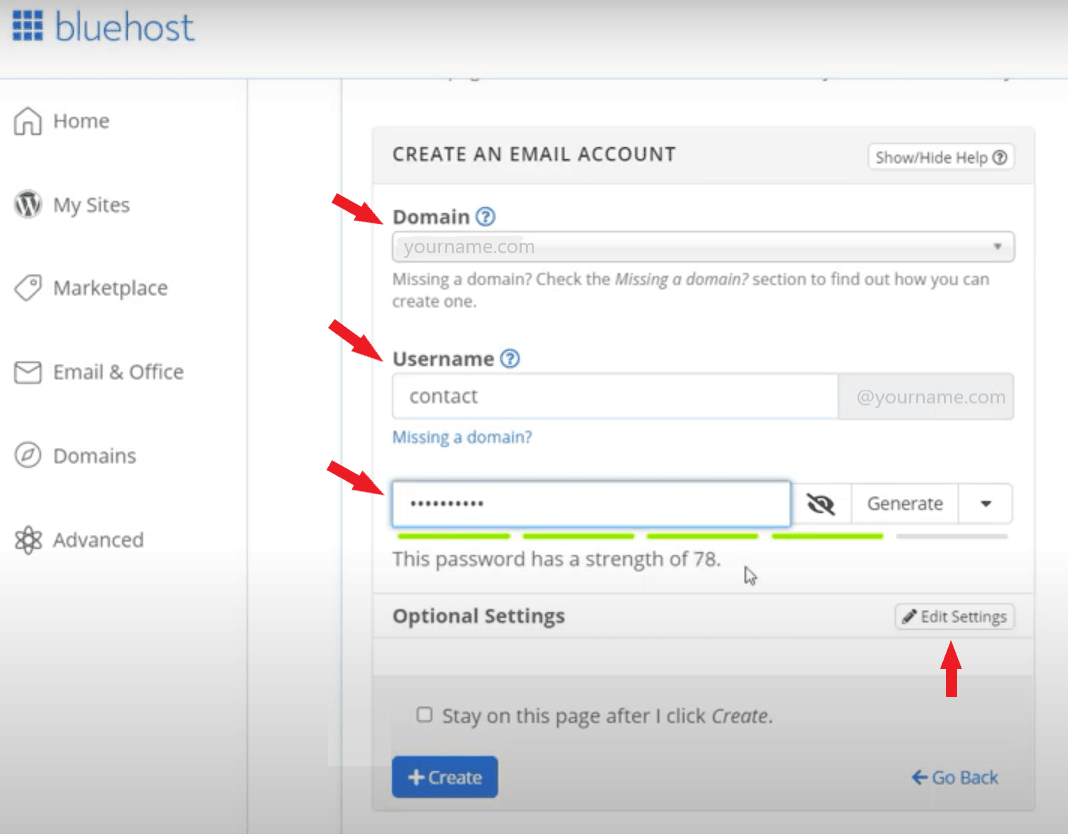
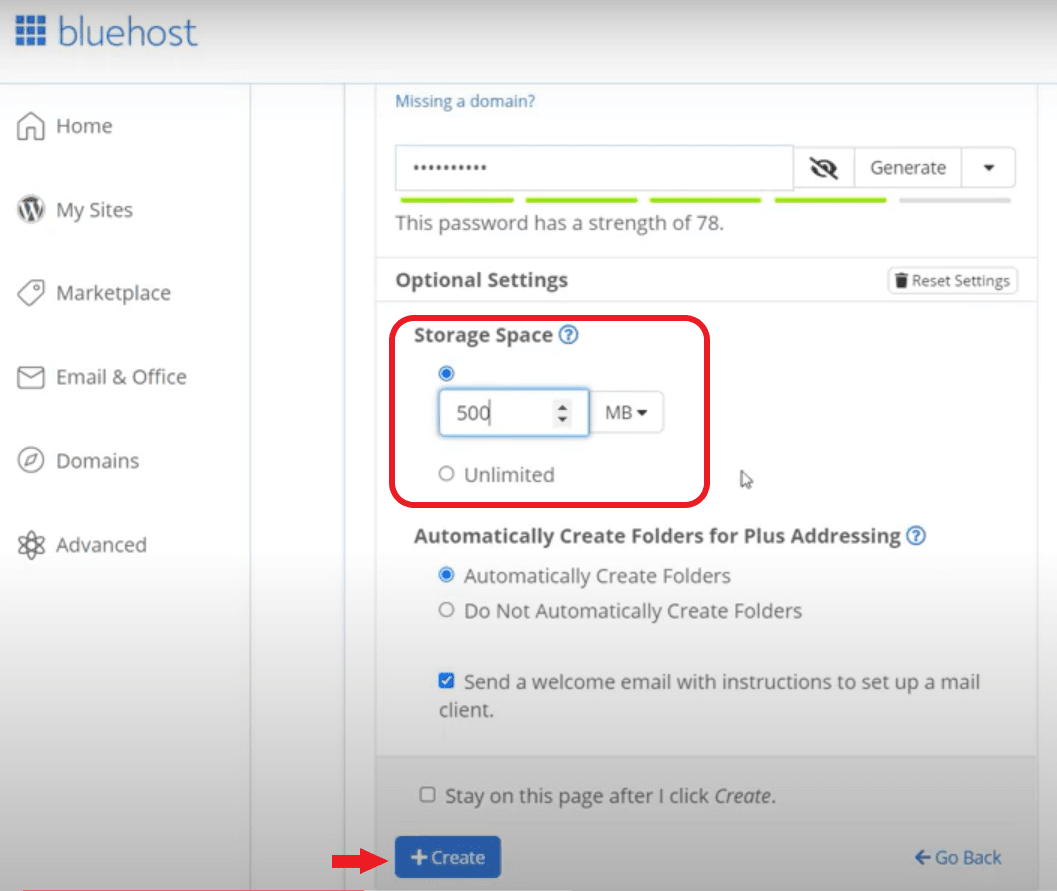
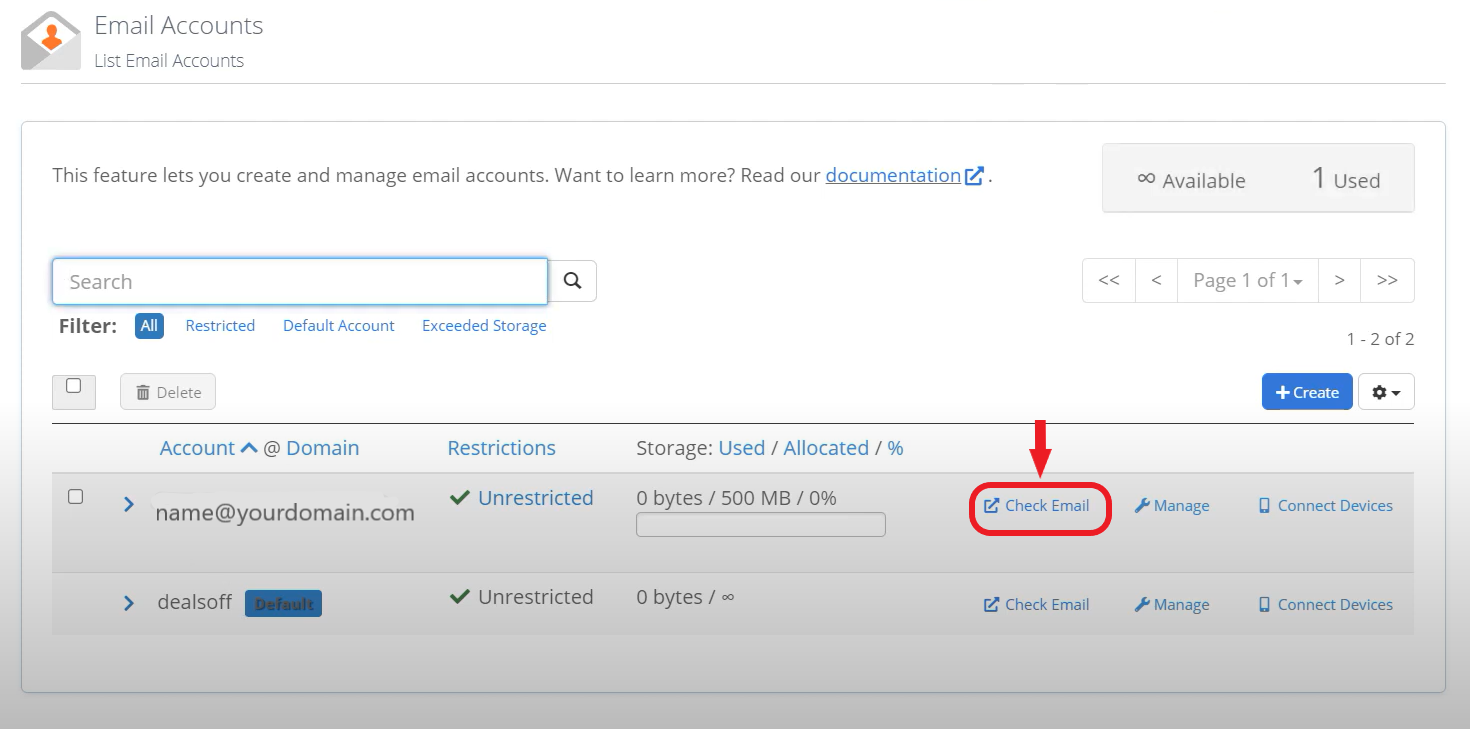
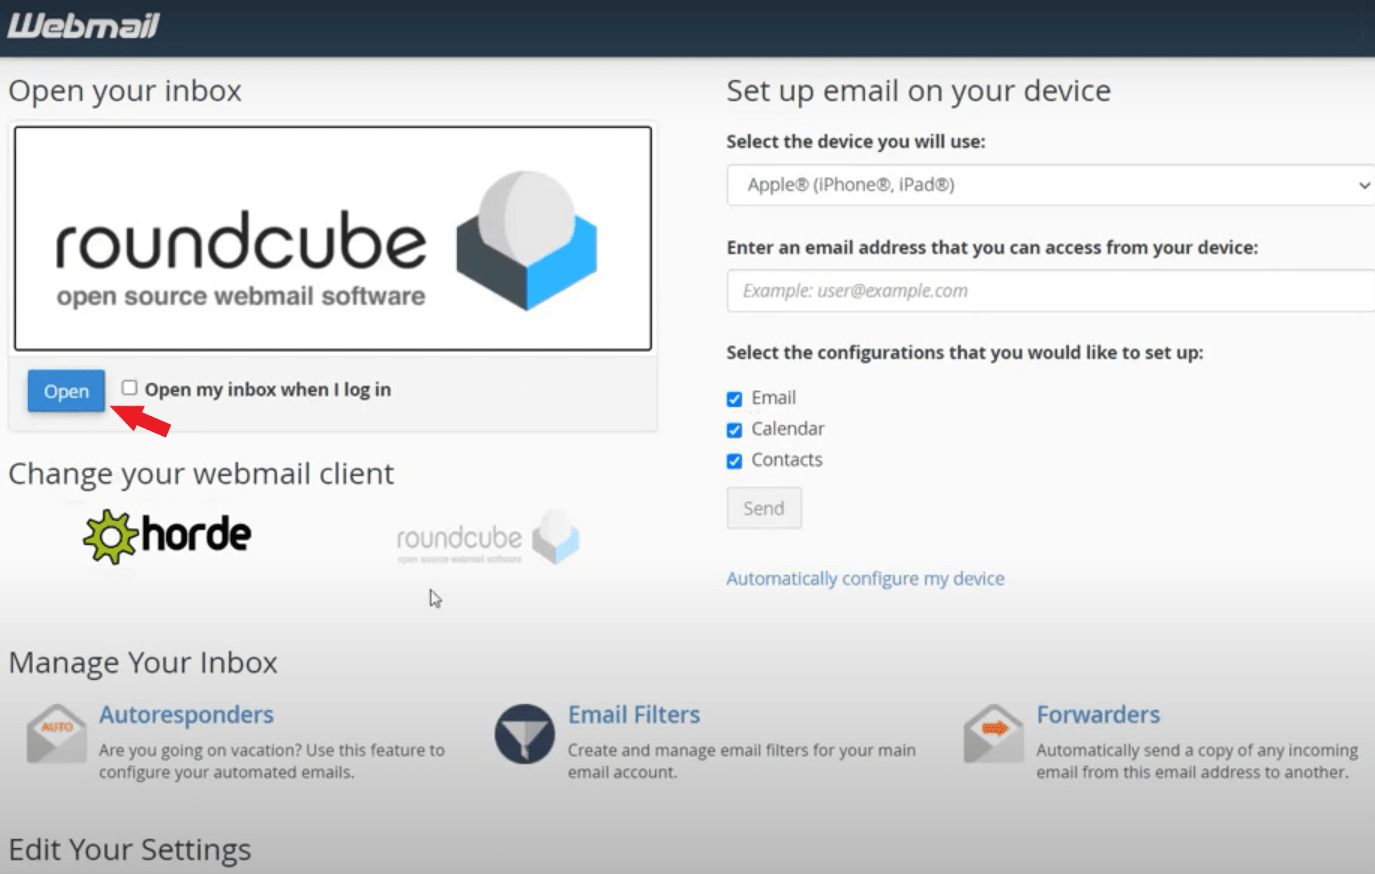

Click here to learn more about "Email Account Management" for Bluehost.
Step 7 - WordPress Settings - Set up a SEO friendly site
1. General settings
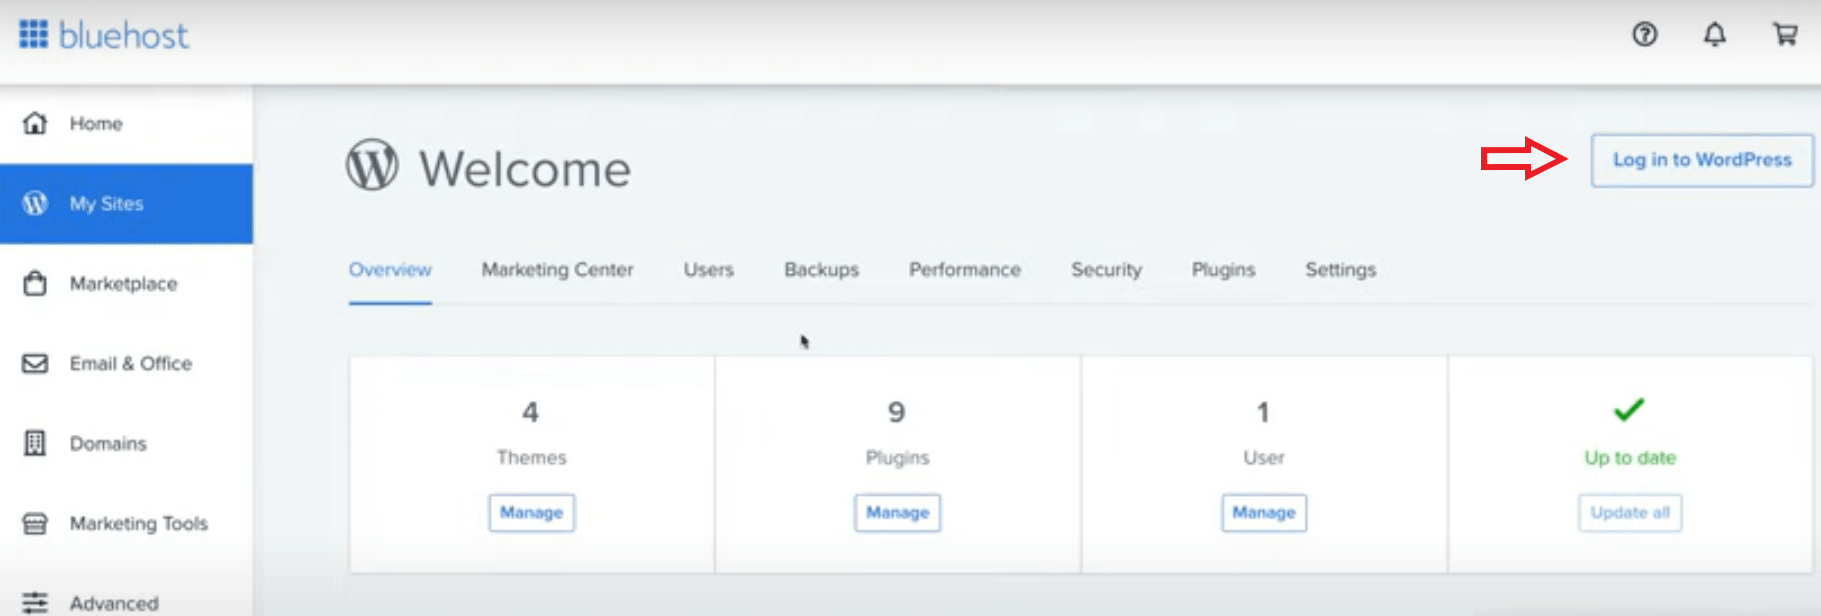
The second way to log in to the WordPress dashboard is just enter your domain name at the top of the search engine and put a "/wp-admin." Just like you see here:
https://yourdomain.com/wp-admin
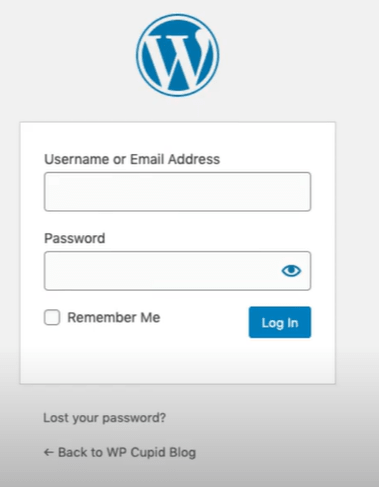
This is the WordPress login page for your site. I recommend that you bookmark this so that it will be easy to find in the future
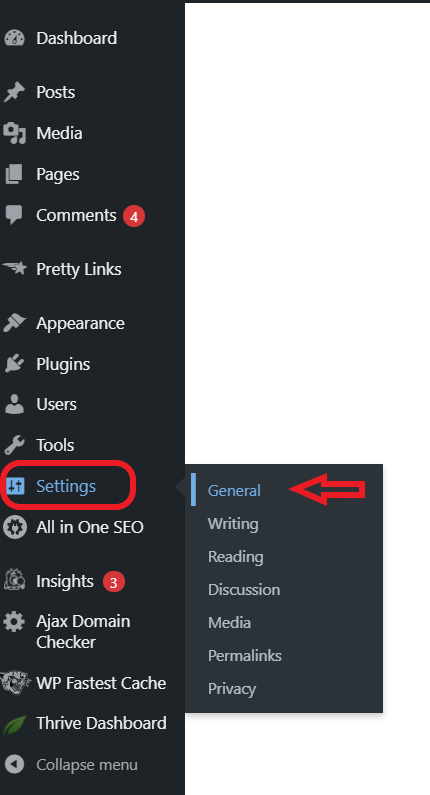
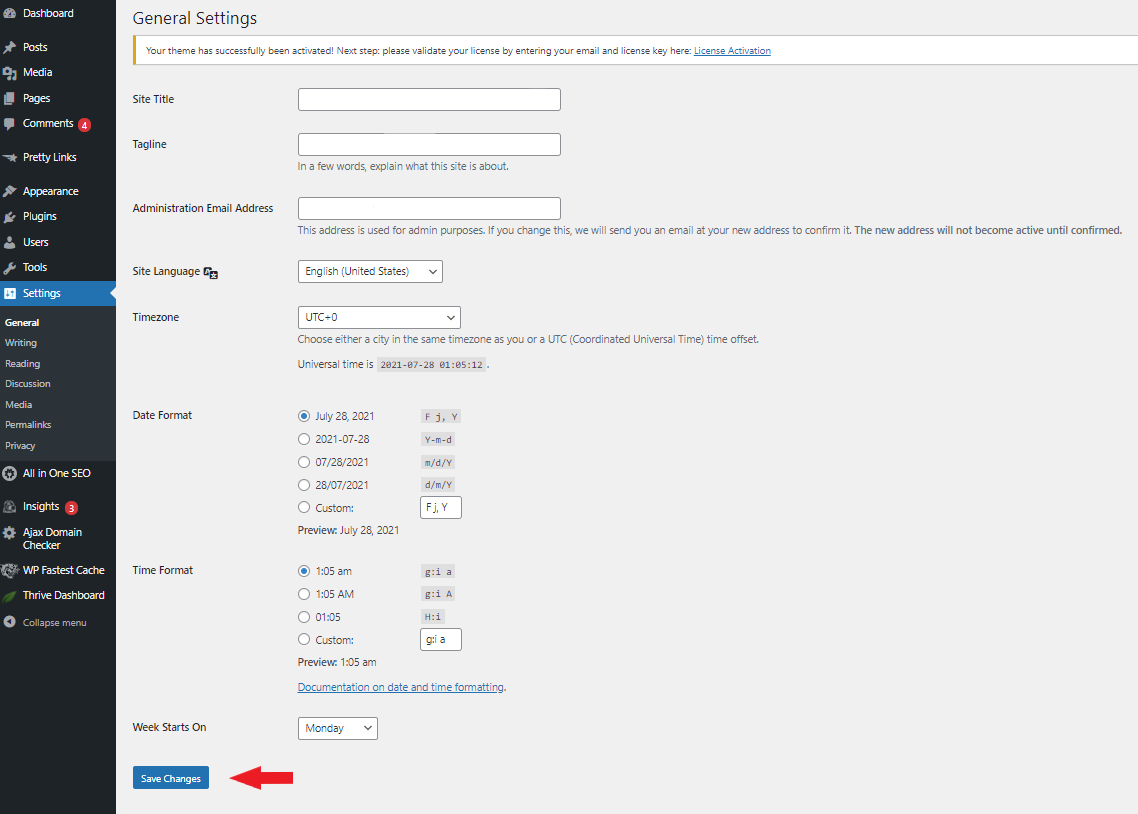
2. Permalink settings
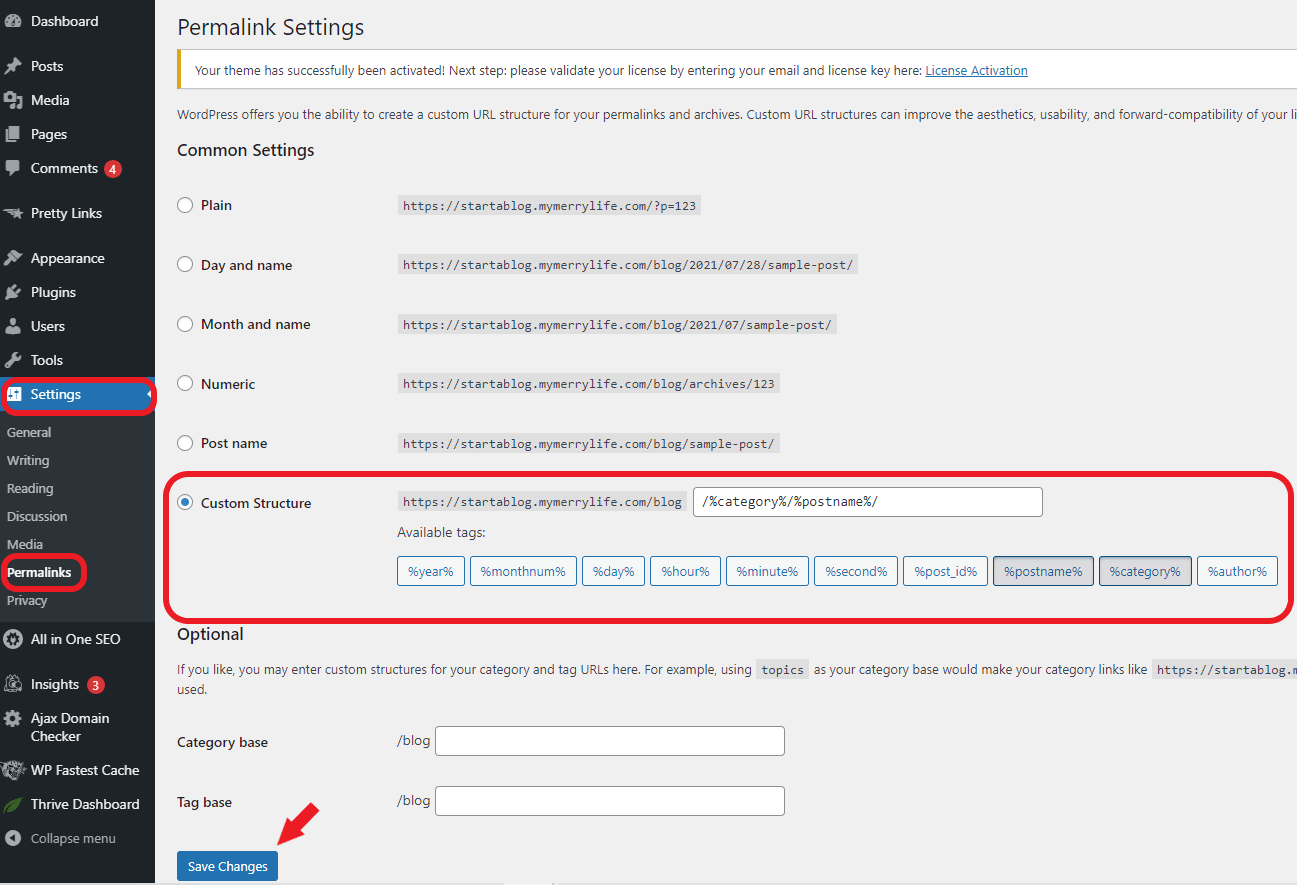
Your permalink structure should be: http:// YOURNAME.com/%category%/%postname%
3. Add the All In One SEO plugin and settings
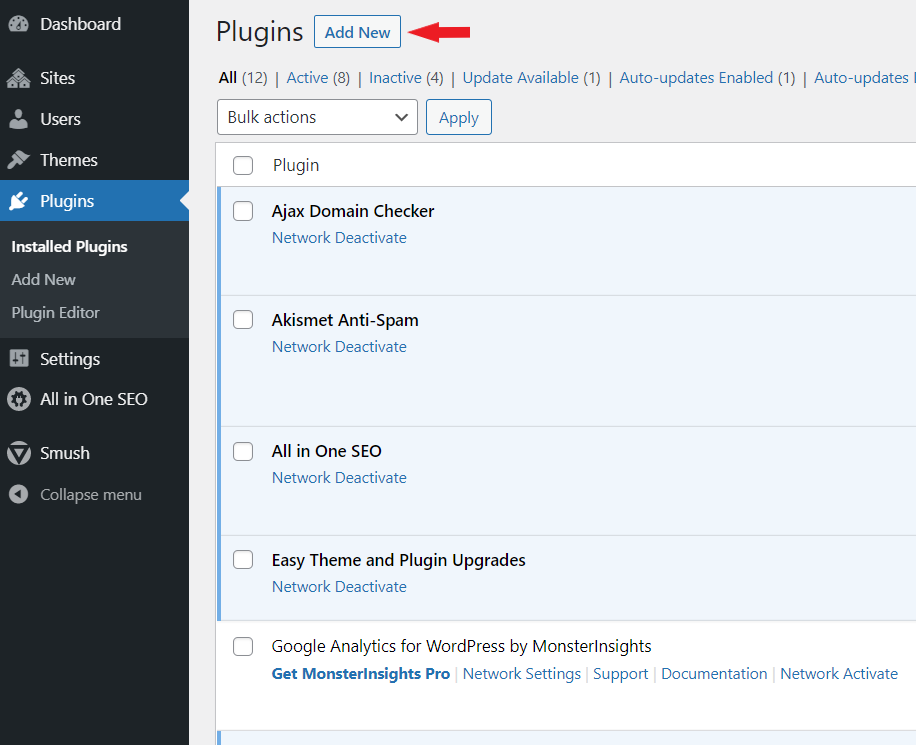
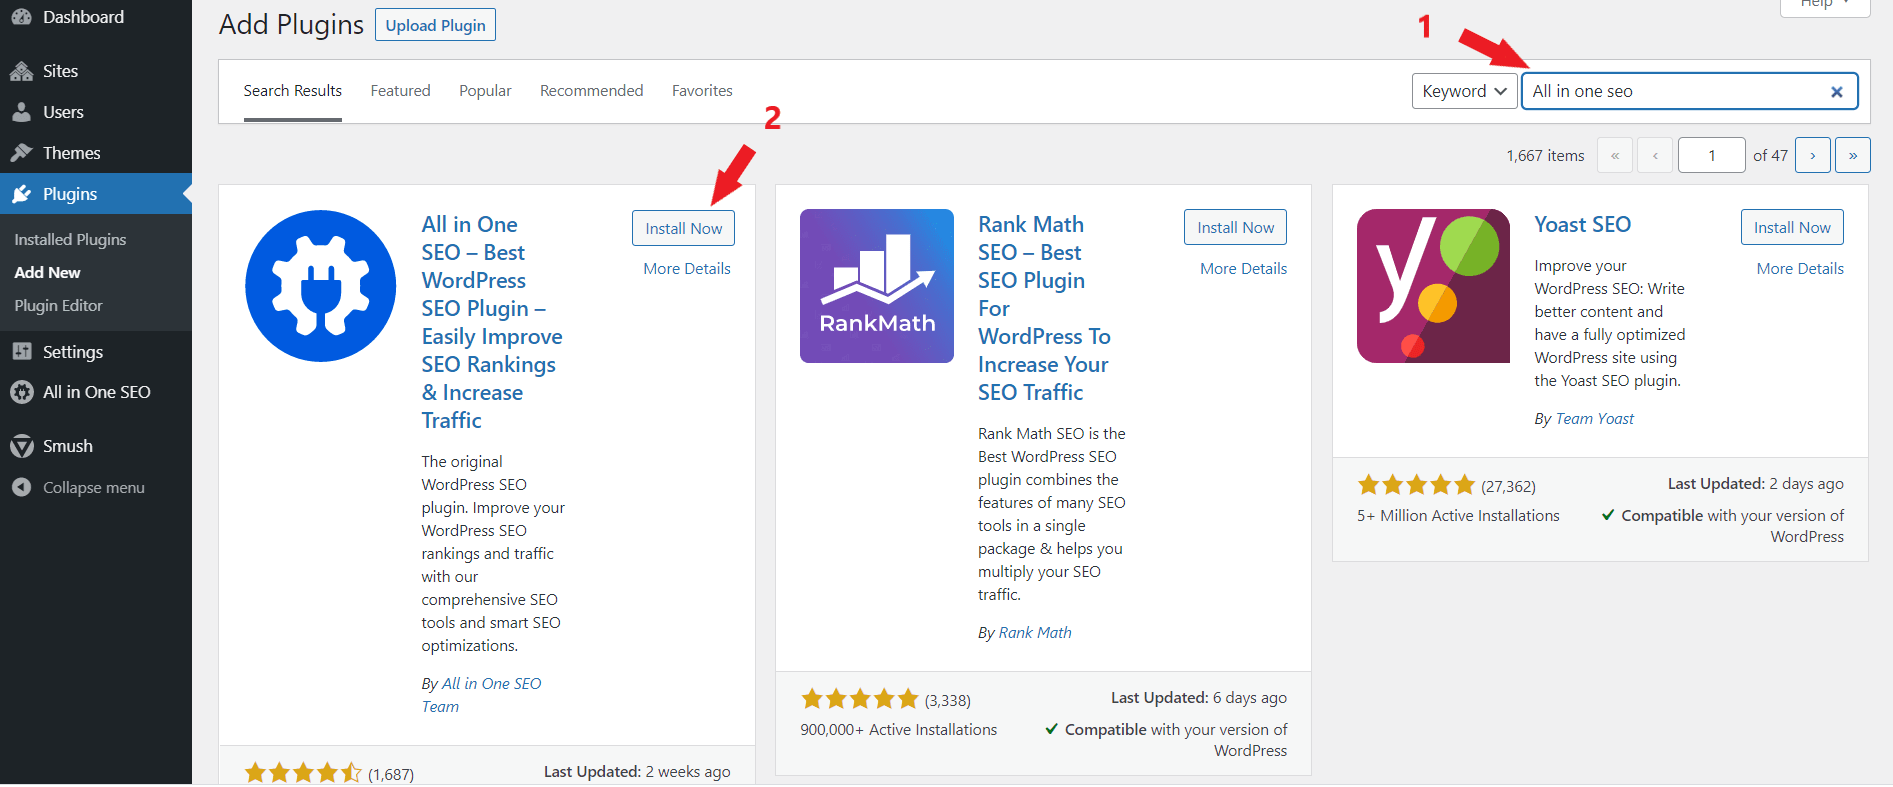
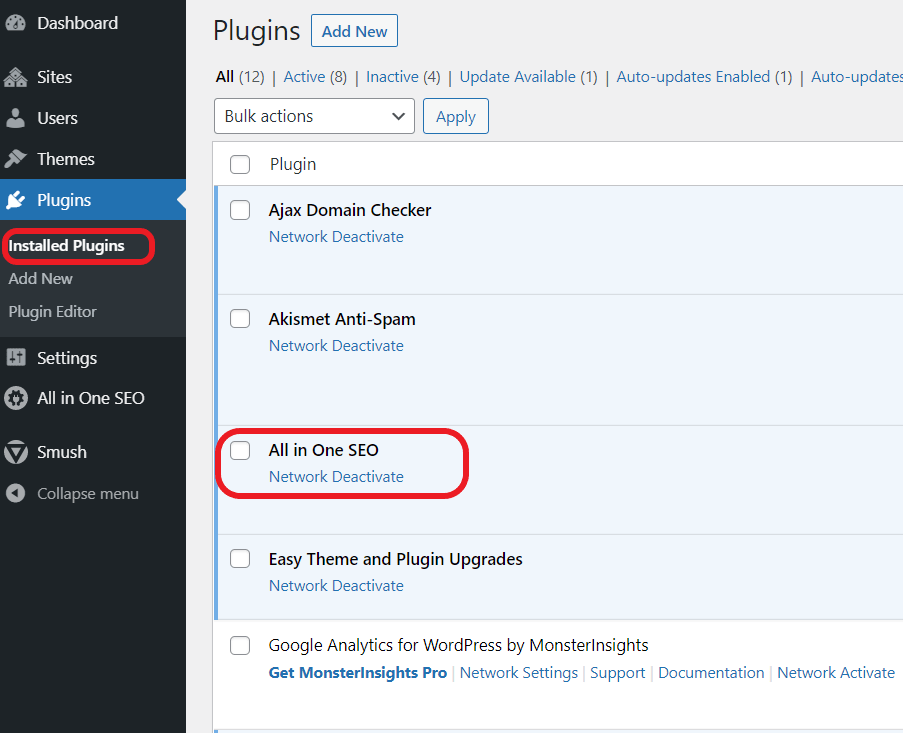
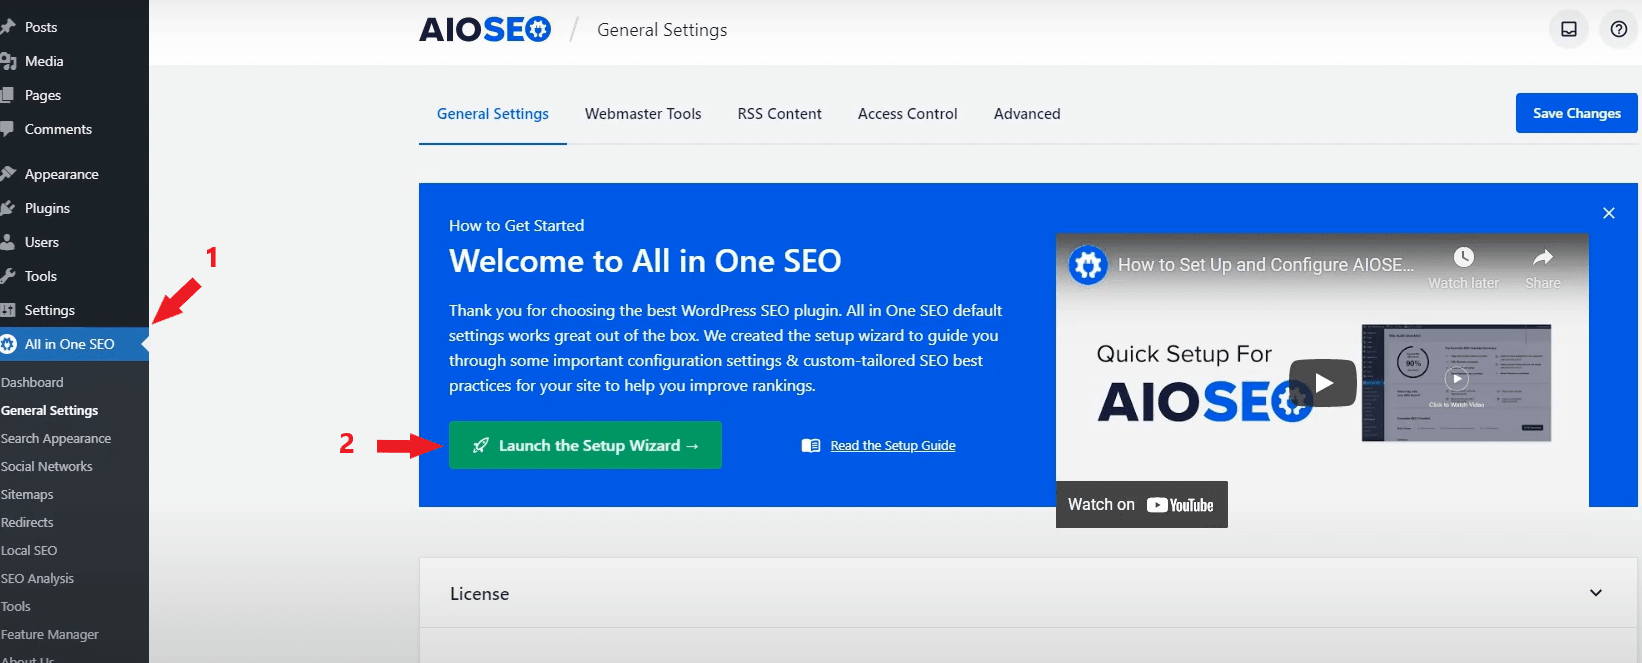
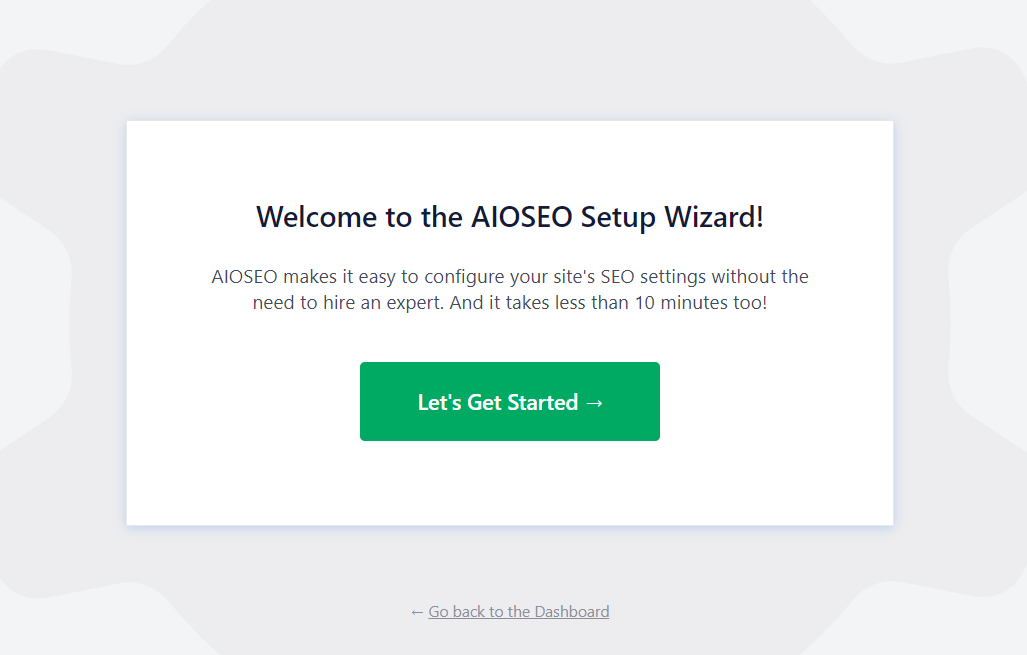
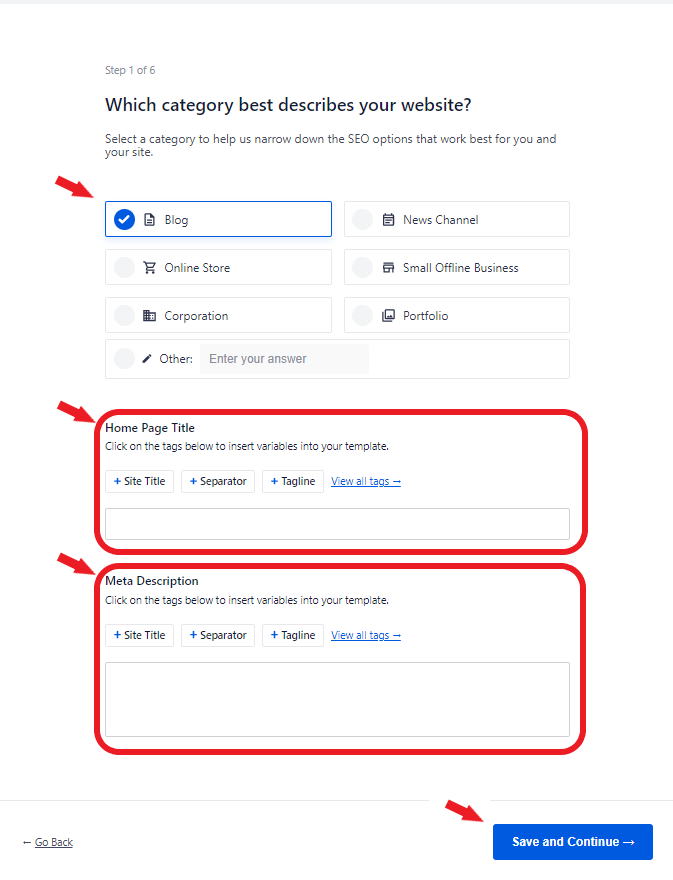
Add the Additional Site Information.
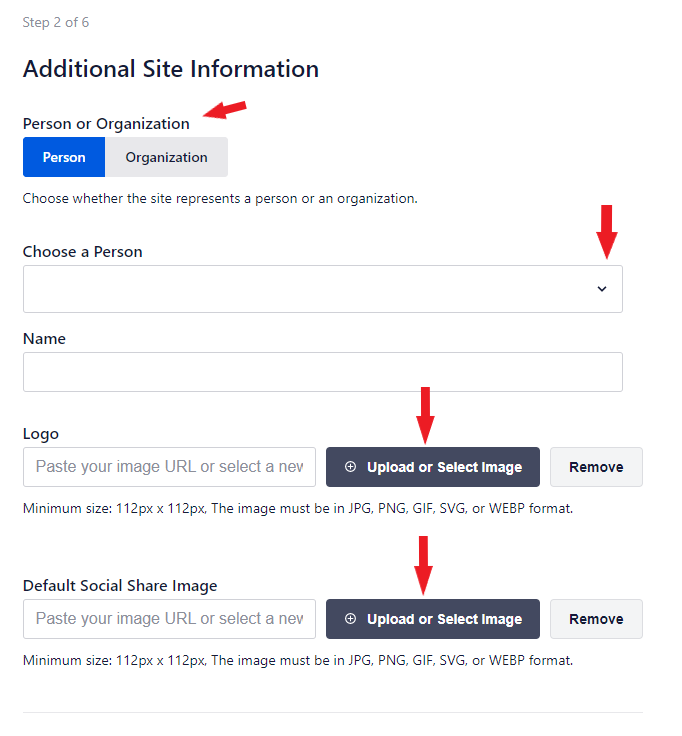
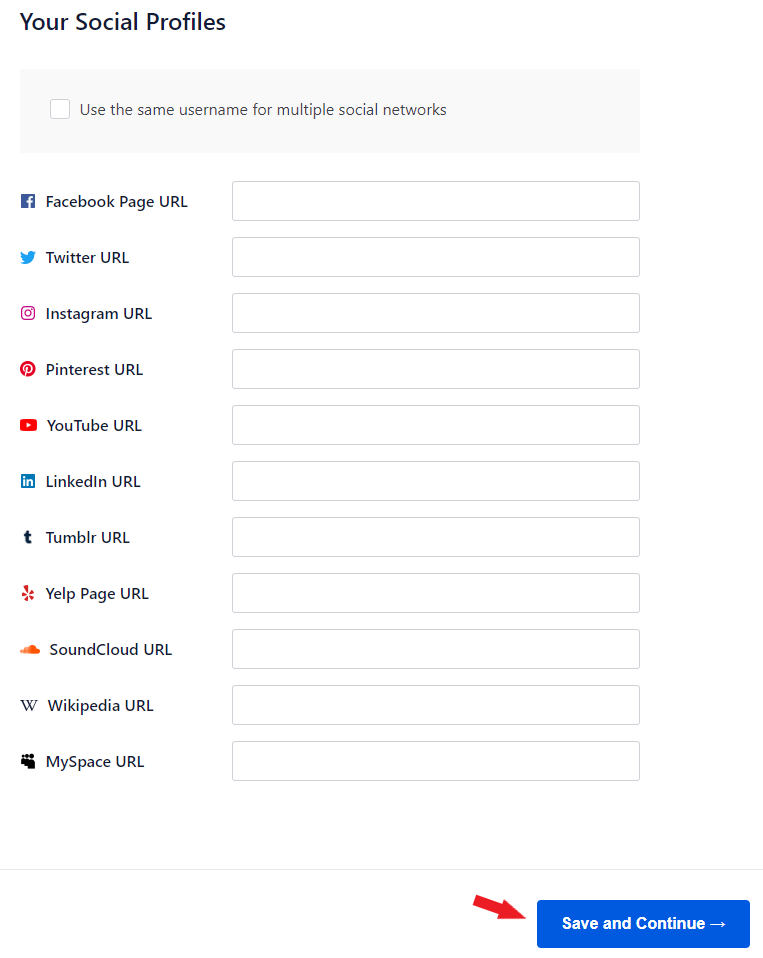
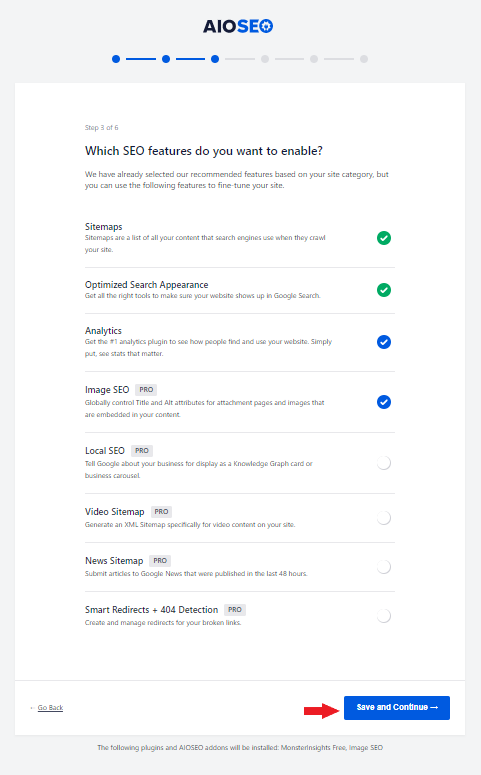
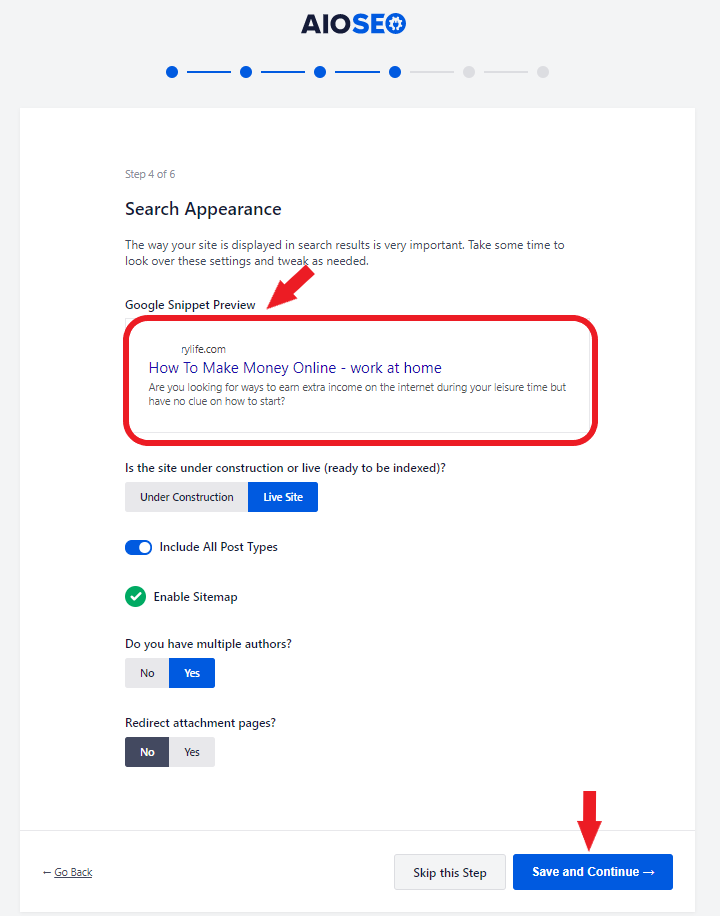
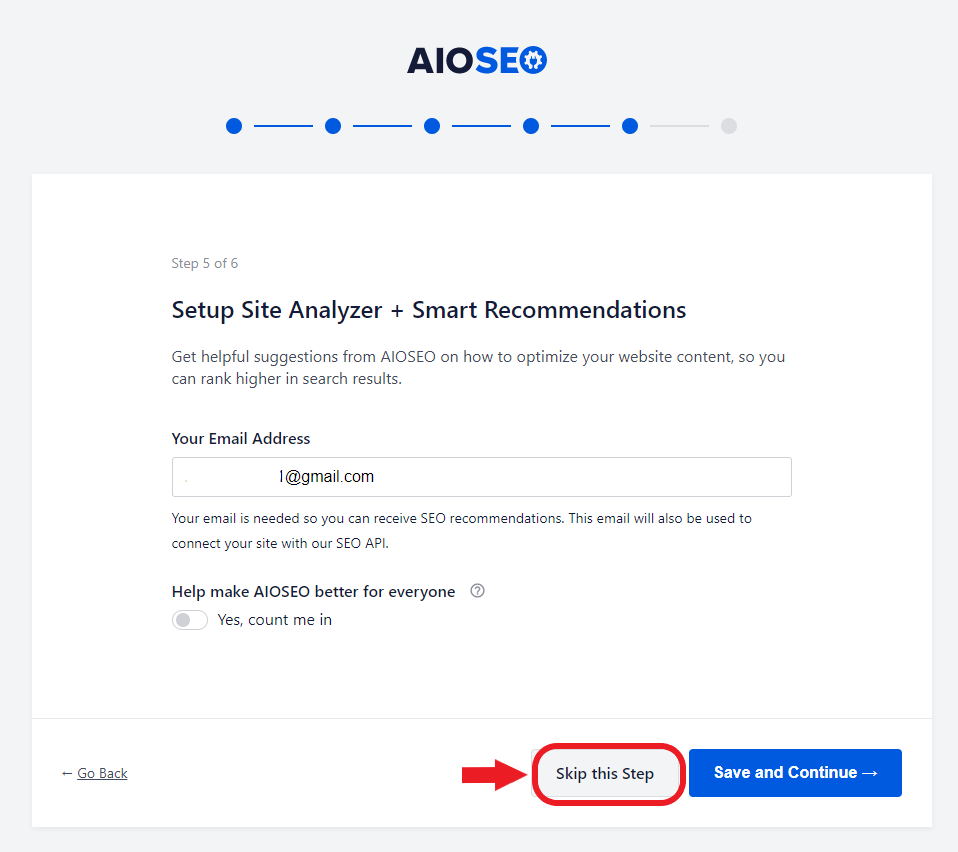
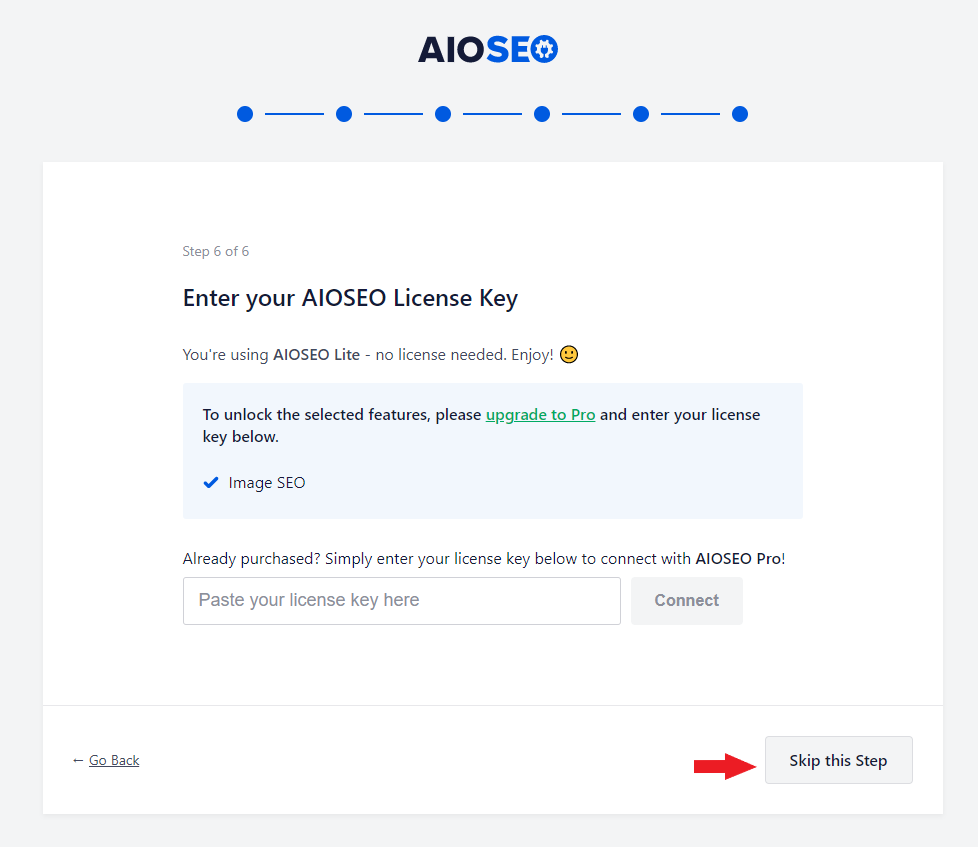
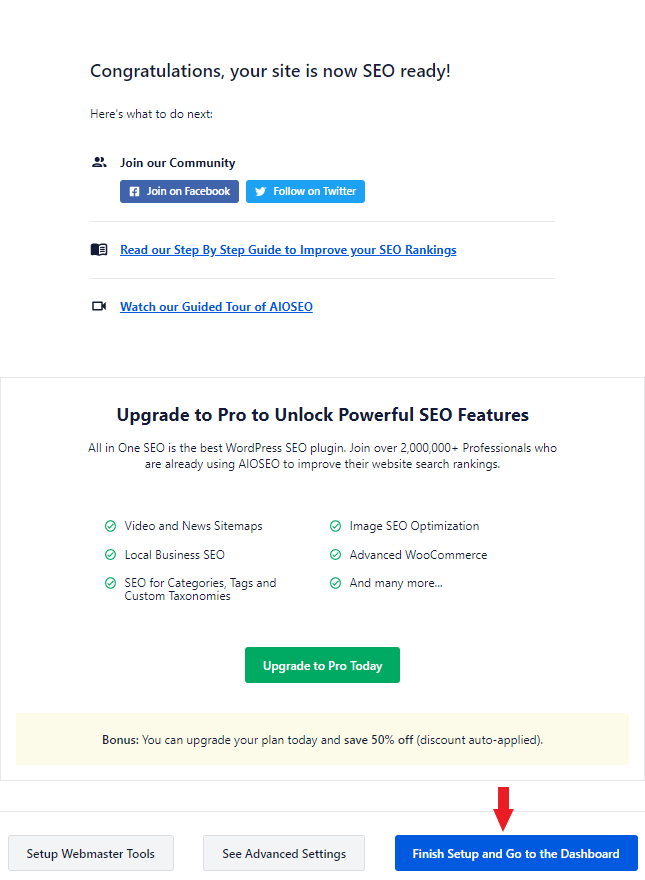
Congratulations! You have now set up your own website. The next step is to create a framework for what you want people to see when they come to visit your site and then optimize it so that all of its features work at their best level possible.
I hope this article has been helpful. Please let me know if you have any questions in the comments, and I'll do my best to get back to you quickly!

[…] Starting a blog is easy to do and it does not cost much. Once you have your website up, you can improve it for search engines. Add affiliate links in your content to make money. […]